Do you love digging through a drawer to excavate the item you want? Who knows what treasures may await! If you’re an archaeologist, you may take special delight in this adventure . . . but I would venture to say that for most people, this exercise is tedious and a nagging reminder that it’s time to organize that drawer.
Here’s where I can help you! Of the many spaces I organize, drawers are one of my favorite spaces to organize.
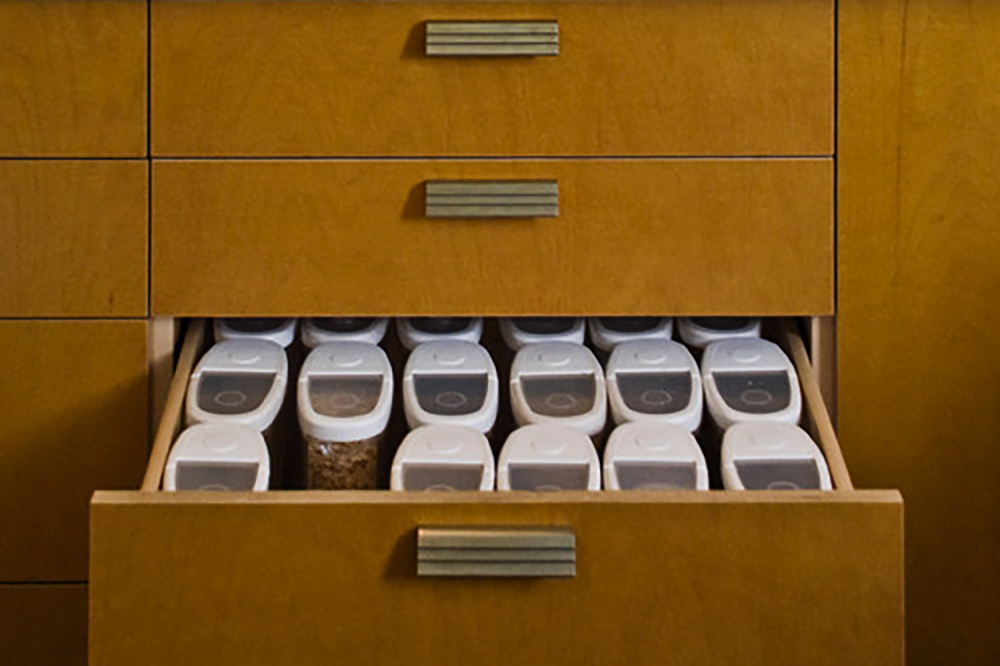
Drawers are confined spaces, designed to hold a set category of items, and the goal is to:
a) make efficient use of this storage
b) maximize storage in the space given
c) store items in the most functional way possible.
Check, check and triple check – game on!
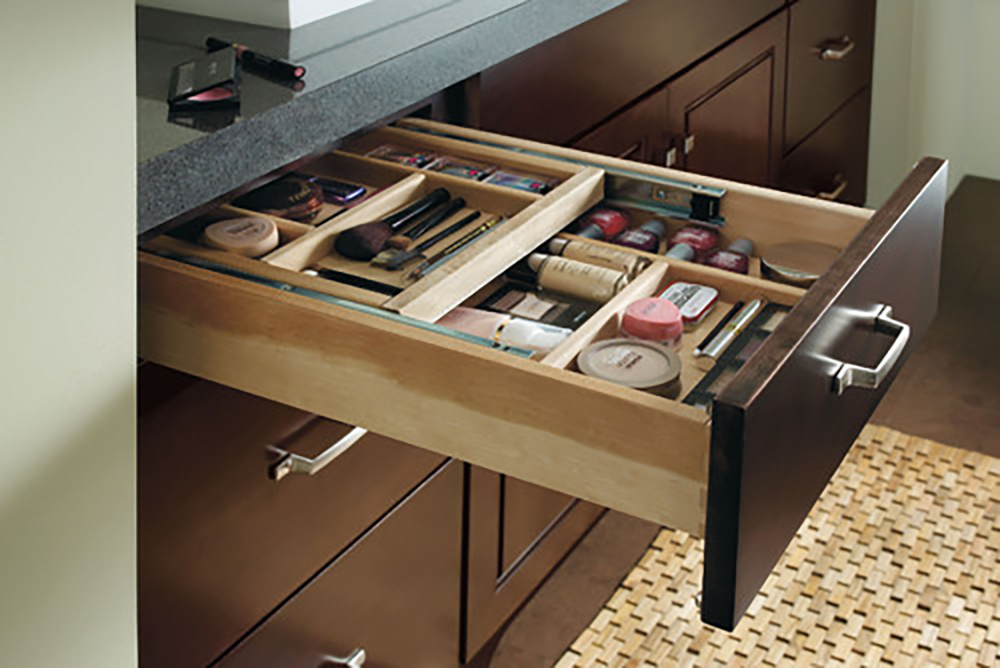
In fact, organizing a drawer is simply a micro-version of any large-scale organization that you would do elsewhere in your home: the kitchen, a closet, your office or garage. The same organizing principles are applied and the same goals are achieved.
The easy thing about organizing a drawer, however, is that the items are smaller, the sorting process is more manageable and you can quickly see the systems you establish. This simple exercise could also get you into the groove of getting organized in other areas of your life. So let’s begin!
Here are steps to organize a drawer, based on my previous post on the PRINCE method to organizing a space:
Organizing a Drawer
Step 1:
Plan & Measure.
What kind of drawer will this be? For example, if it’s in the kitchen, will this drawer hold eating utensils, cooking utensils, kitchen towels, baking tools, wraps or Tupperware? If it’s in the office, is it holding desk items (pens, scissors, tape, paper clips, Post-it notes), mailing supplies or stationery? The type of drawer is most often determined by its location. Measure width, depth and height of drawer.
Step 2:
Remove & Review.
Take everything out of the drawer and remove items that don’t belong or that should go somewhere else.
Step 3:
Identify.
Sort items into categories and keep only those things you need, use or love. This is also a good time to thin that population of spatulas in the kitchen or pens in the office.
Step 4:
Neaten.
Remove all items being donated, recycled, tossed or moved to another drawer/room so you only have the items to be stored in this drawer in front of you. Lay them out by category and identify the size of each category so you’ll have a better idea of the type of container or drawer organizer you’ll need.
Step 5:
Confine & Contain.
The fun part! Determine the best organizer for your drawer – first, by what will fit and second, by what is being contained. I’ve highlighted my favorite organizers for various drawers below.
Step 6:
Evaluate . . . Eternally!
Now that you have an organized drawer with established categories, it is your turn to keep it that way. Make sure items go back to the proper section, and if a section starts to overflow, do a quick review/sort and remove items that you don’t need. It’s amazing how those pen populations keep expanding!
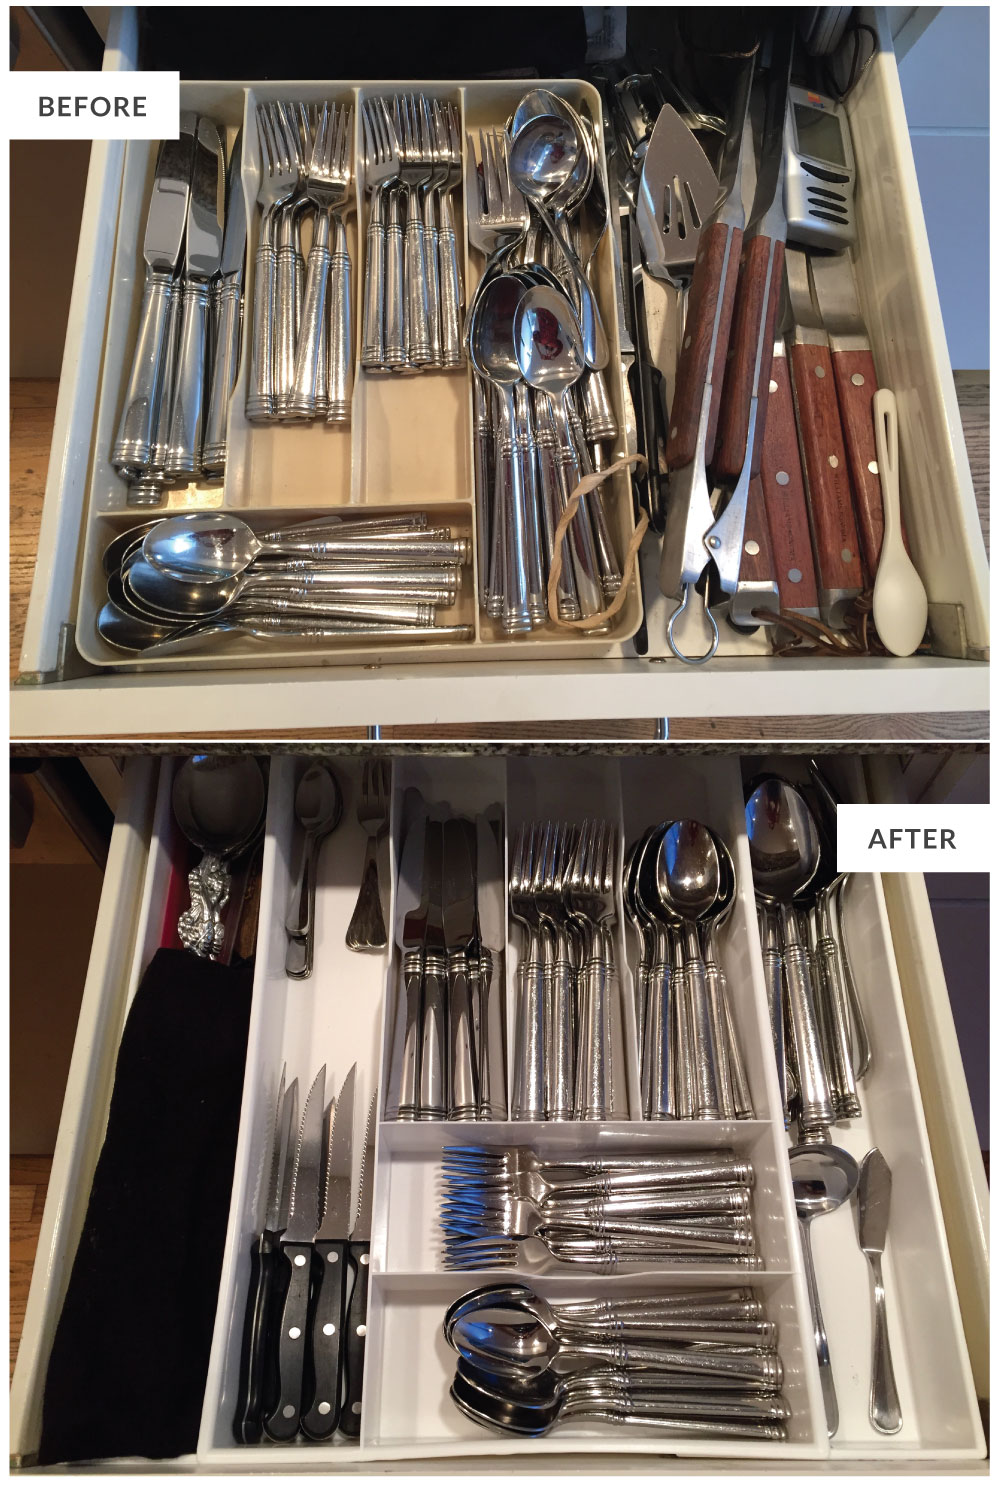
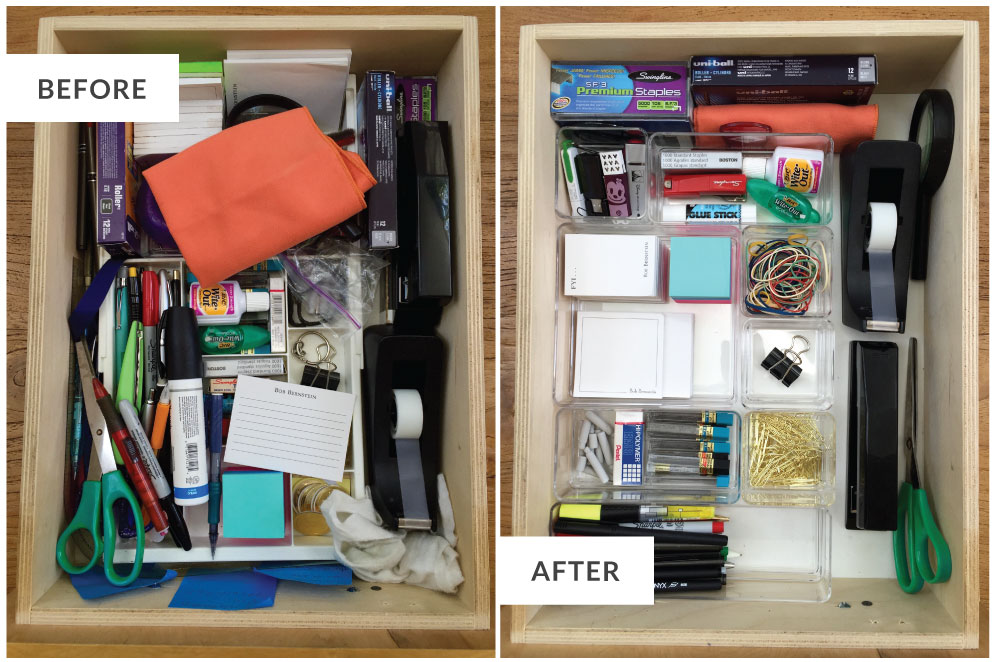
Below are some before/after photos and my favorite products to keep your drawers organized. Happy organizing!
[av_hr class=’default’ height=’50’ shadow=’no-shadow’ position=’center’ custom_border=’av-border-thin’ custom_width=’50px’ custom_border_color=” custom_margin_top=’30px’ custom_margin_bottom=’30px’ icon_select=’yes’ custom_icon_color=” icon=’ue808′ font=’entypo-fontello’ av_uid=’av-300cmf’]
Custom-Fit Drawer Organizers
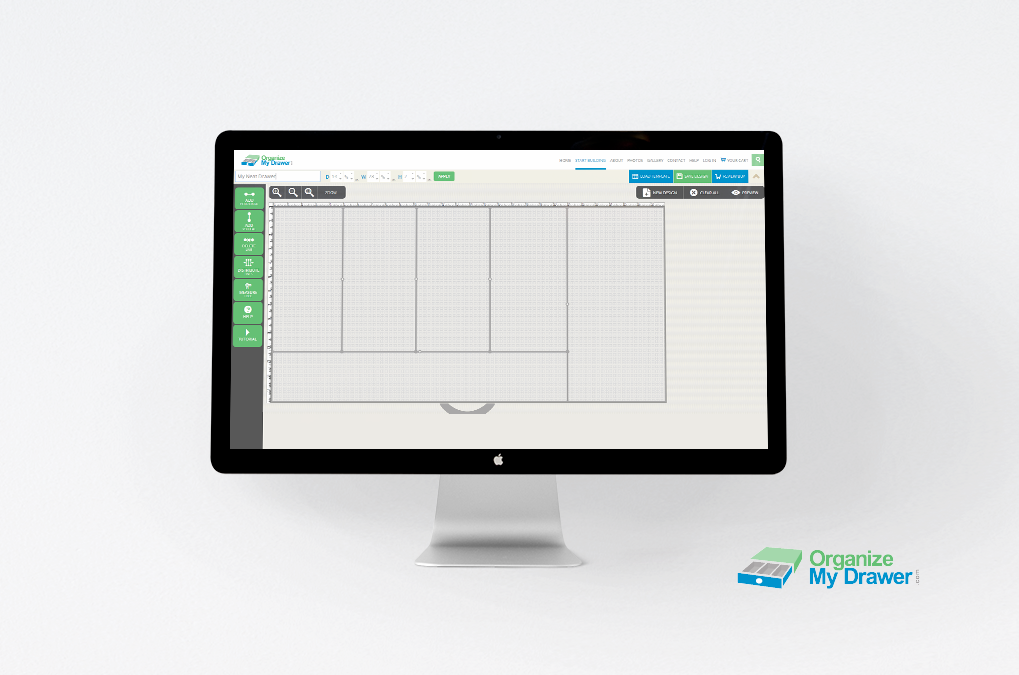
The custom-made acrylic drawer inserts by Organize My Drawer are amazing – and beautiful! You design the organizer to fit your drawer to a “t”, with the specific size and quantity of sections your items need. It is truly the most elegant solution for organizing your drawer. For discounts at Organize My Drawer, consider joining their email list, or search for coupon codes online.
[av_one_half first av_uid=’av-2ucsov’] [/av_one_half]
[av_one_half av_uid=’av-2qfqrb’]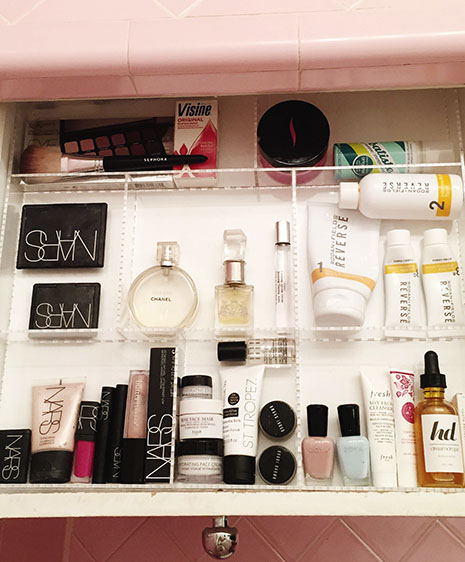 [/av_one_half]
If custom-fit organizers are not in your budget, here are other options:
Organizing a Kitchen Drawer
Expand-to-fit drawer organizers:
[av_one_third first av_uid=’av-2lour3′]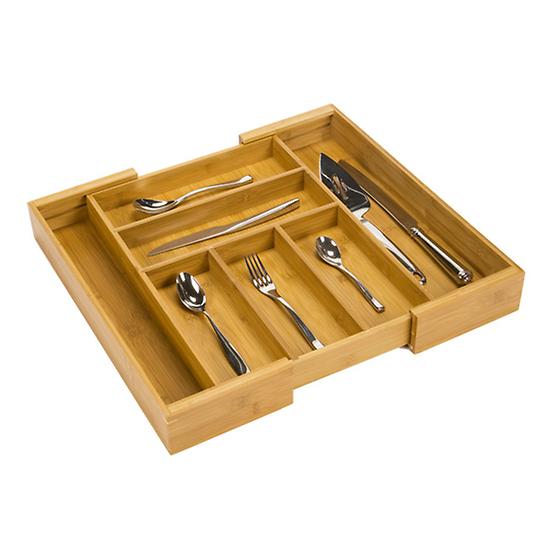 [/av_one_third]
[av_one_third av_uid=’av-2fc46n’]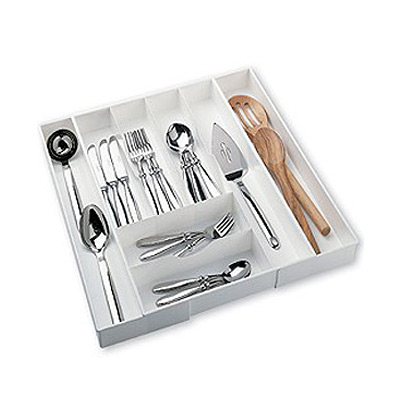 [/av_one_third]
[av_one_third av_uid=’av-27t1p3′]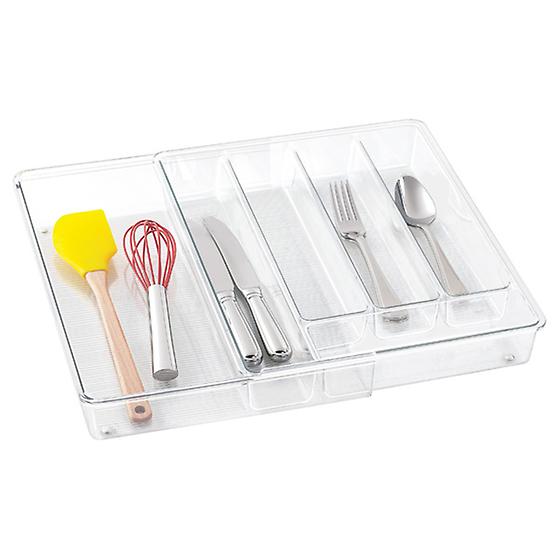 [/av_one_third]
Individual Insert Organizers:
[av_one_half first av_uid=’av-239m7j’]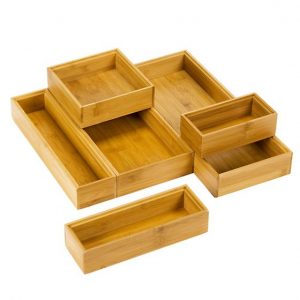 [/av_one_half]
[av_one_half av_uid=’av-1x1ohb’]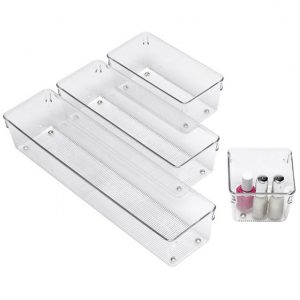 [/av_one_half]
[av_hr class=’default’ height=’50’ shadow=’no-shadow’ position=’center’ custom_border=’av-border-thin’ custom_width=’50px’ custom_border_color=” custom_margin_top=’30px’ custom_margin_bottom=’30px’ icon_select=’yes’ custom_icon_color=” icon=’ue808′ font=’entypo-fontello’ av_uid=’av-1pakn3′]
Organizing a Desk Drawer
[av_one_third first av_uid=’av-1j26pj’]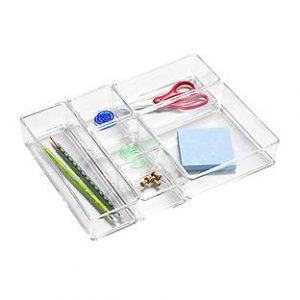 [/av_one_third]
[av_one_third av_uid=’av-1feyxz’]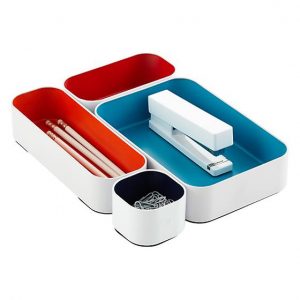 [/av_one_third]
[av_one_third av_uid=’av-4kndr’]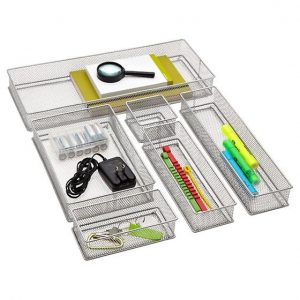 [/av_one_third]
[av_hr class=’default’ height=’50’ shadow=’no-shadow’ position=’center’ custom_border=’av-border-thin’ custom_width=’50px’ custom_border_color=” custom_margin_top=’30px’ custom_margin_bottom=’30px’ icon_select=’yes’ custom_icon_color=” icon=’ue808′ font=’entypo-fontello’ av_uid=’av-141dkn’]
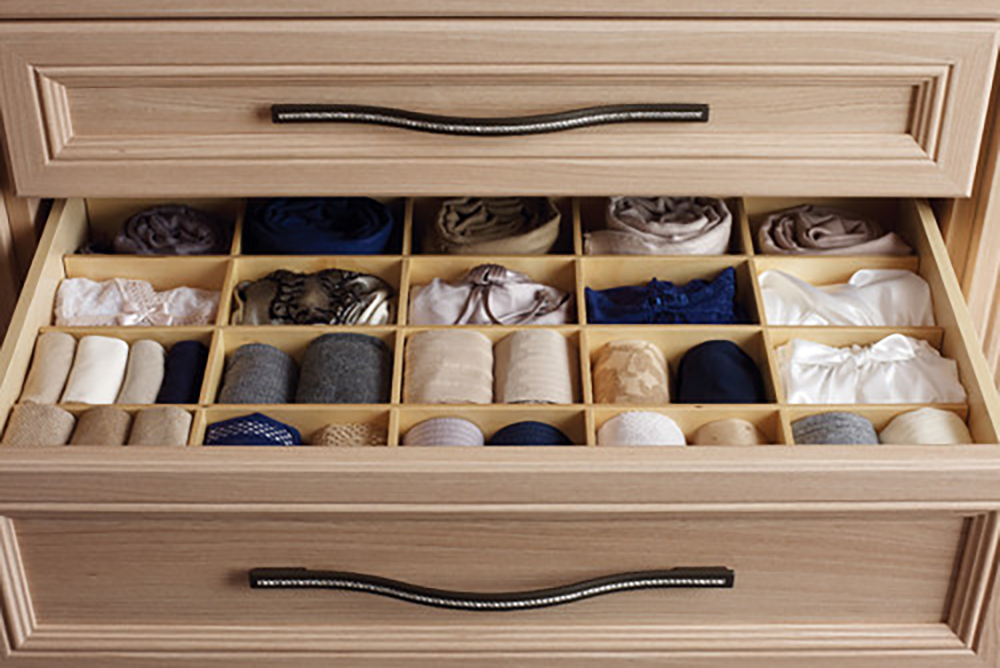
Organizing a Clothes Drawer
[av_one_third first av_uid=’av-uyr33′]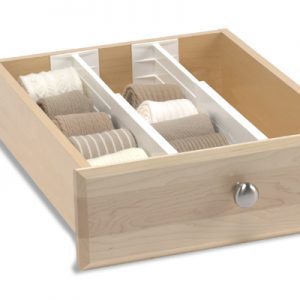 [/av_one_third]
[av_one_third av_uid=’av-rvca7′]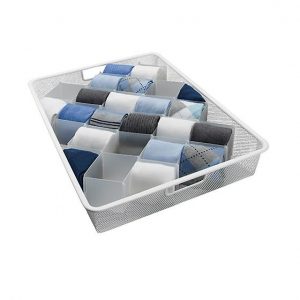 [/av_one_third]
[av_one_third av_uid=’av-mpnvb’]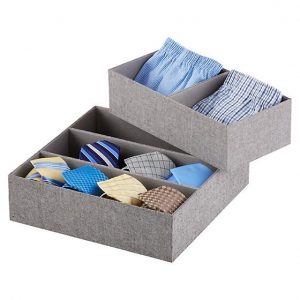 [/av_one_third]
[av_hr class=’default’ height=’50’ shadow=’no-shadow’ position=’center’ custom_border=’av-border-thin’ custom_width=’50px’ custom_border_color=” custom_margin_top=’30px’ custom_margin_bottom=’30px’ icon_select=’yes’ custom_icon_color=” icon=’ue808′ font=’entypo-fontello’ av_uid=’av-gxb3j’]
I hope these tips and product suggestions inspire you to get your drawers organized. Please share your before/after photos with me in the comments section below!
[av_hr class=’default’ height=’50’ shadow=’no-shadow’ position=’center’ custom_border=’av-border-thin’ custom_width=’50px’ custom_border_color=” custom_margin_top=’30px’ custom_margin_bottom=’30px’ icon_select=’yes’ custom_icon_color=” icon=’ue808′ font=’entypo-fontello’ av_uid=’av-alqyv’]

Love this! What a great project!
Thanks, Ellen! And it’s fun, too! 🙂