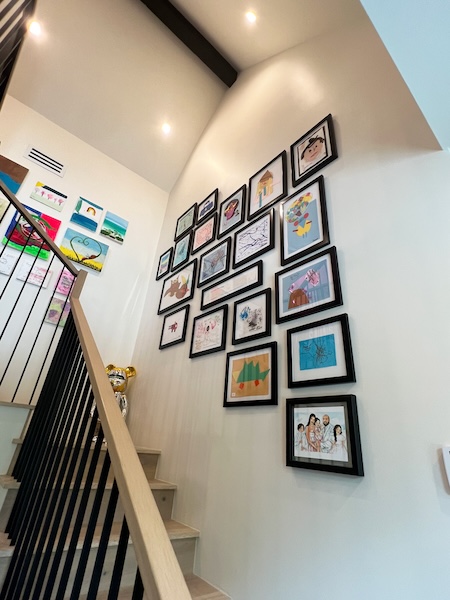
It’s Mother’s Day! It’s time to celebrate being a mom – and what better way than by creating a gallery wall of cherished family photos or children’s art.
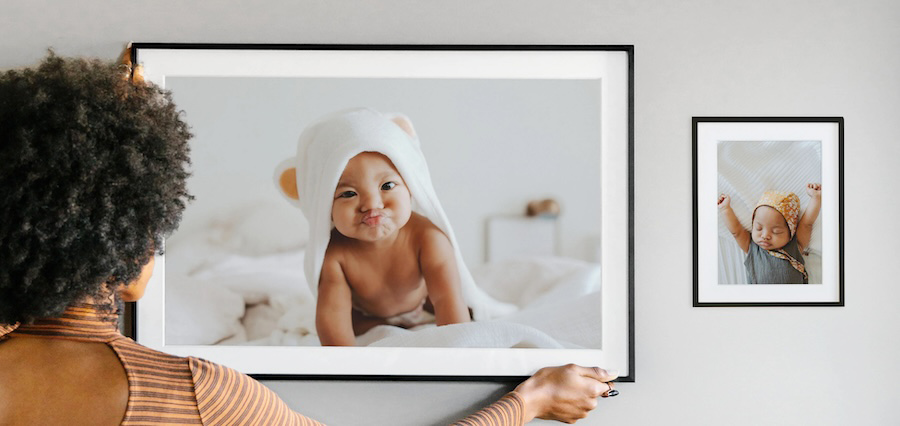
Above photo by Artifact Uprising
We love pulling together gallery walls. They look fantastic and are a beautiful way to organize and display pictures that can otherwise languish in boxes (or on our phones) and never see the light of day.
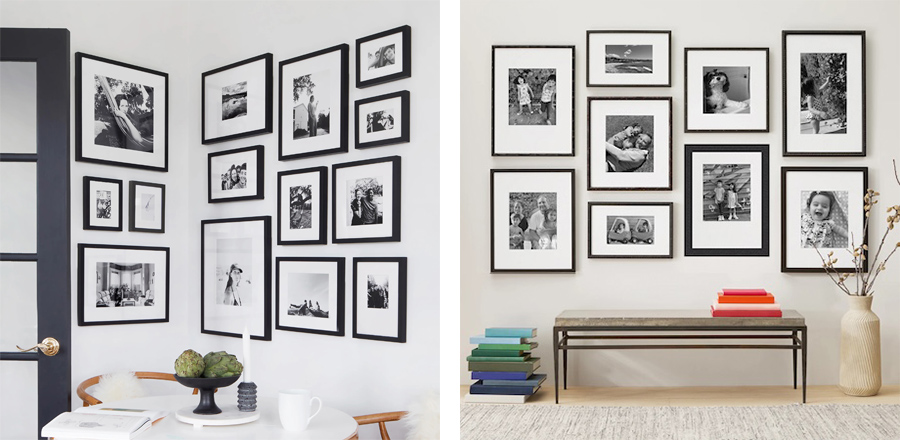
Pulling together a gallery wall can seem a bit daunting, but it also can be fun and extremely satisfying. Here are our steps to creating a stylish gallery wall.
1: Curate your collection
This is your chance to pick your favorite family photos or kids’ art. Choose pieces you love, make you feel happy or spark a warm memory. You don’t have to hang everything on the walls – a well-curated gallery wall goes a long way. If you’re hemming and hawing over that self-portrait from kindergarten or the award-winning watercolor from third grade, these frames from Opposite Wall are a great option. You can easily swap out your kids’ art and keep your gallery wall fresh and updated. Which brings us to…
2: Frame your art and photographs
Frames can be the same color or you can mix it up with complementary materials. Depending on your budget, frames from Ikea, Blick or Artifact Uprising (as shown in feature image above) work beautifully or you can have your art and photography professionally framed by a company like Framebridge (which is especially nice if you want to print larger photographs). Which leads us to…
3: Arrange your gallery wall
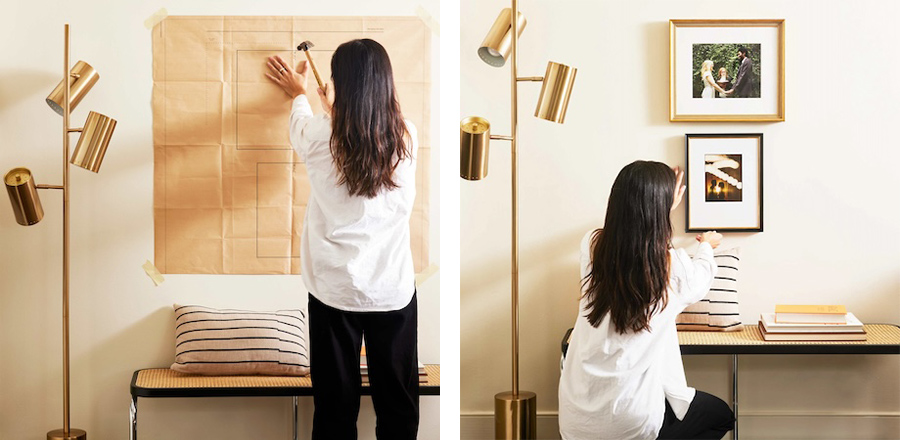
This is the fun part. There is definitely an art to a well laid out gallery wall – but anyone can do it. To start, lay your pieces on the floor to create your arrangement. Alternatively, you can use painter’s tape or brown paper to do a mockup on the wall (brown paper will allow you to move pieces around). There is also the “winging it” approach (some of us just like to go for it) which involves putting the largest piece in the center (or just off center) and adding pieces outward. Design services at Framebridge and Artifact Uprising will also create framed gallery walls for you with an easy to use layout. Once you’ve determined your layout, you’re ready to…
4: Hang your pieces!
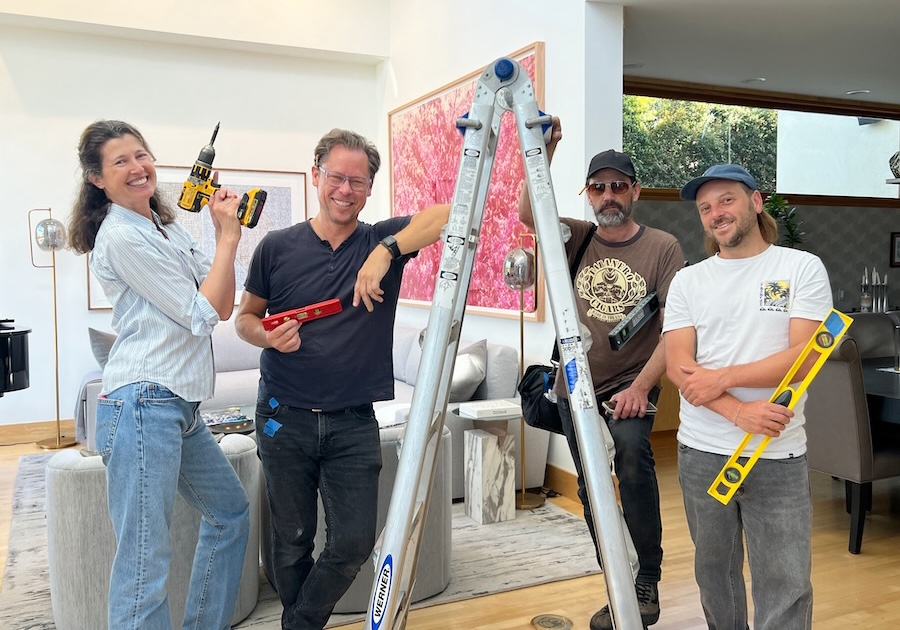
 Please make sure to measure, measure, measure. (A good measuring tape, hammer, level and hardware will come in handy for sure.) We like to mark the spot for the nail with a pencil on painters tape to avoid marking up the wall. Once you’ve installed the hardware, hang your pieces and admire your handiwork. Don’t despair if a piece feels off. You can adjust it. And please remember, there is no right or wrong here. Trust your eye.
Now if any or all of this seems like way too much time, stress or work (we get it!) we are happy to help! Click here to book your gallery wall appointment today!
Buried in other treasures from your child? For additional inspiration, check out these videos where I walk you through How to Save Kid’s Art and How to Create a Kids DIY Memory Box.
Do you have other ways to showcase your family photos or kids’ artwork? If so, I’d love to hear about it! Drop me a line on Instagram or Facebook.
Disclaimer: Certain products featured by Cary Prince Organizing include affiliate links that earn us a commission at no additional cost to you. We only feature products we genuinely love, use, and want to share. All opinions expressed are our own.
Comments +