What is your workspace like? Is it a sanctuary you escape to in order to focus, create and produce brilliant work? Or is it a place you run away from (or would like to run away from) because you can’t focus, aren’t able to access the items you need and are challenged to be productive?
We have been taught that the picture-perfect minimalist environment is the epitome of an office primed for productivity, but actually, it is simply an organized workspace that creates the sure-fire foundation to get work done and set yourself up for success.
So now that we’ve dealt with how you’re going to organize the paper that was lying all over the top of your desk, we can now get to work on organizing the desk itself.
Why is the desk next? This is the place where you must think, create, dream up fantastic ideas, write and produce – so it follows that this is the most crucial spot to set up properly. You don’t want anything standing in your way on the path to greatness.

Step 1: Create a System for Incoming Paper
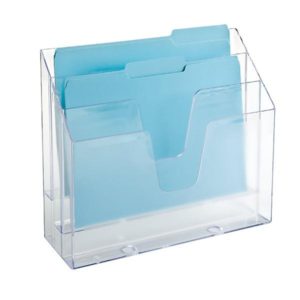
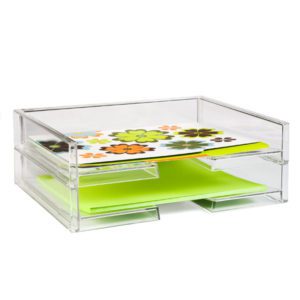
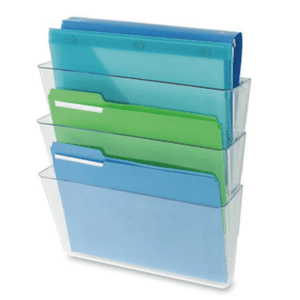
A universal challenge for everyone is how to deal with the paper that comes into your life on a daily basis. Take control, stem the flow and designate a home for each type of paper. For both filers and pilers, I create 3-4 categories on top of the desk, either in a standing desktop file, in trays or in a wall pocket within easy reach:
- Inbox: only use this solution to contain all incoming paper if your mail is delivered to you and you haven’t reviewed it yet
- Action: items that require prompt action, e.g. bills to pay, an invite to RSVP and add to your calendar, forms to sign, an important document to review, etc.
- Pending: items that aren’t urgent but that you may be waiting to hear back on, delaying action on, or that happen farther into the future – essentially, anything that doesn’t require immediate action but that also isn’t ready to be filed, scanned, tossed or shredded
- To File/Scan: items to be filed away or scanned when you have time
Step 2: Clear the Decks! (er, Your Desk!)
Next up is to take a good, long look at all the items that have taken up residency on your desk: are you surrounded by overflowing pen cups, paper clip holders, stacks of notepads or post-it notes, a 3-hole punch, tape dispenser, stapler, Kleenex box, framed photos and your child’s latest sculpture?
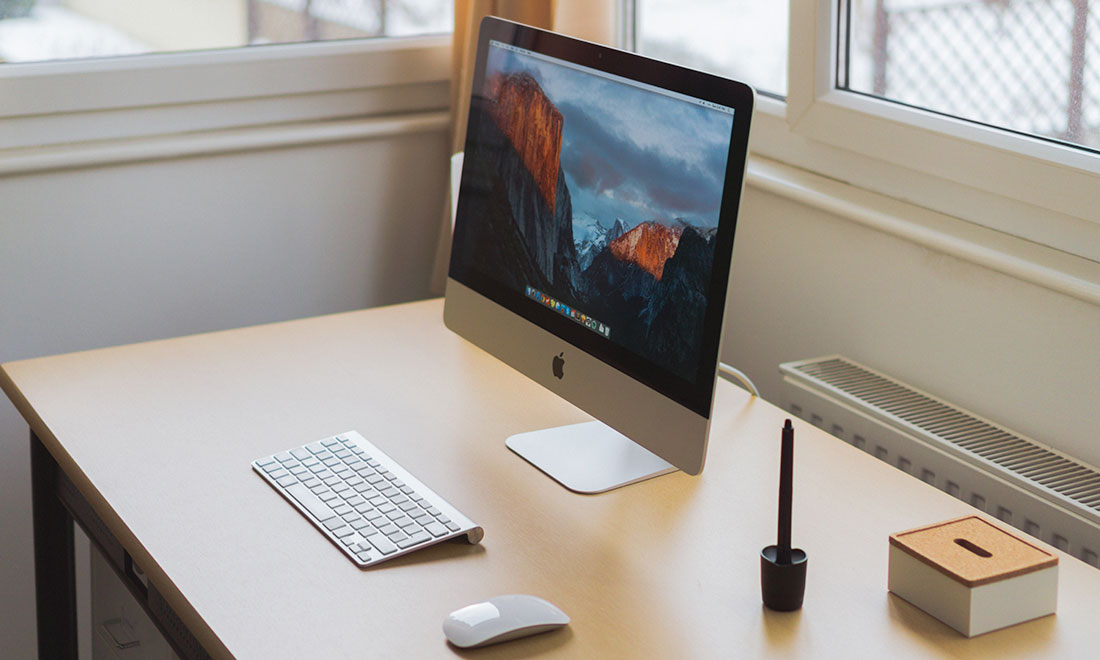
Remove everything and let’s begin again! Your desktop should only have the most essential items on it:
- Computer
- Keyboard
- Mouse
- Lamp
- Phone
- File sorter for incoming paper (see Step 1)
- Clear area for writing and taking notes (on dominant hand side)
- Notepad
- Pen/pencil*
- Personal object (or 2!)
As for printers and scanners, remove them from the prime real estate of your desktop and relocate them to a location we’ll call “Desk Adjacent” (think “Beverly Hills Adjacent”): either on a desk return, a small table beside/under your desk, a shelf above your desk or a credenza behind your desk.
Step 3: Set Up Your Own Personal Office Supply Store
What’s left? Everything else that comes with an office, of course! Before you let it all waltz back on the wide, open stage of your desk, ask yourself: does this item hold a starring role in my life? If it’s a tool you use daily (e.g. you regularly need to staple receipts together, hole-punch every document you print, etc.), it makes the cut. Otherwise, let’s get busy finding homes in the wings for these items in your drawers and cabinets.
Dedicate one drawer or cabinet to items you use frequently:
- Scissors
- Stapler
- Tape dispenser
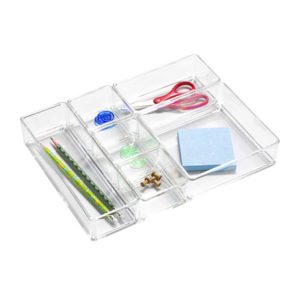
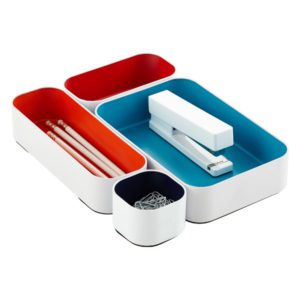
In the same drawer or cabinet (if there’s space) or another one close by, contain your smaller office supplies:
- Paper clips
- Binder clips
- Rubber bands
- Glue stick
- Post-it notes
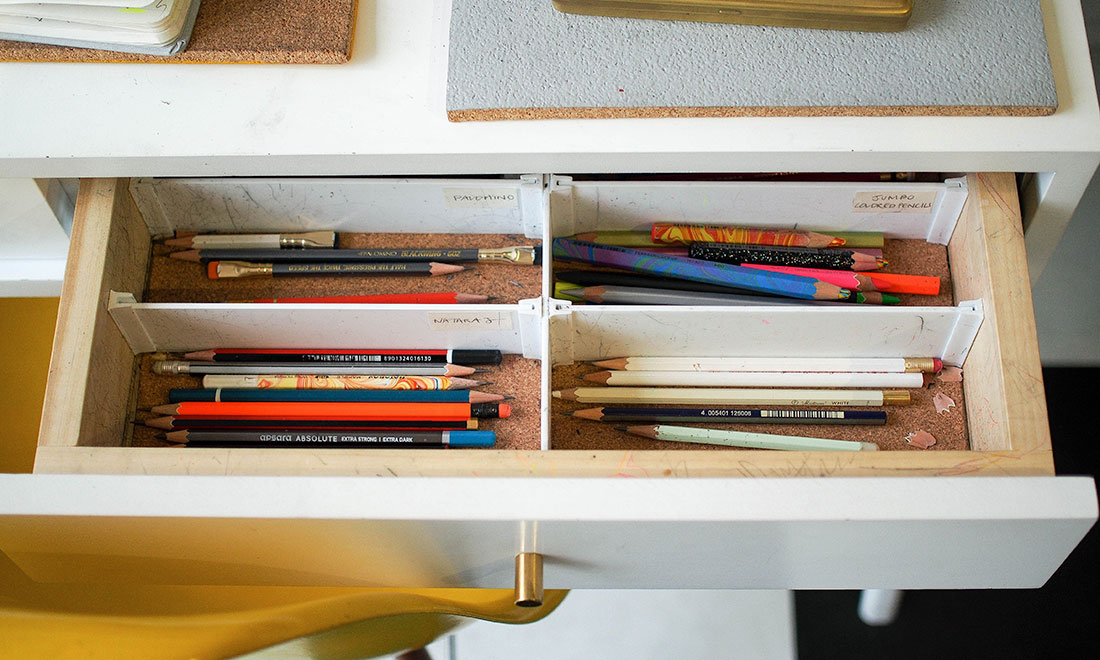
- Pens, pencils and highlighters*
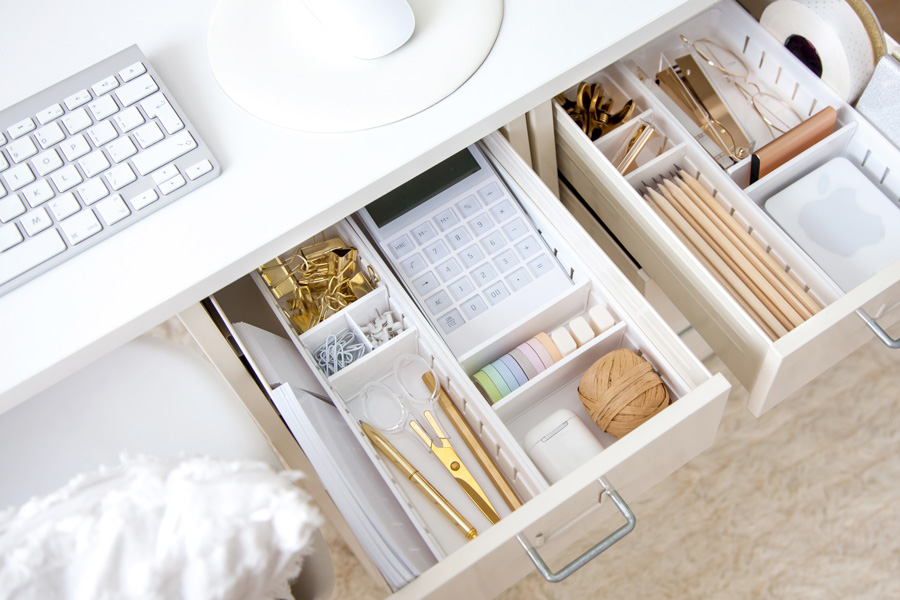
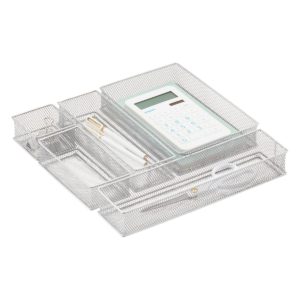
I love the variety of desk drawer organizers you can use to organize these smaller items!
*A note about pens/pencils/highlighters: keep only the brands and colors you like! And only those with tops that still work! There is no need to hold on to every freebie pen you receive. Be discriminating about the ones you elect to keep – you only need one pen to write, and maybe a few more for back up. Your desk drawer (or pen cup) will thank you.
Larger office supplies, back-up supplies and lesser-accessed items can be designated to lower drawers, more distant cabinets or higher shelves. Group like items together:
- Paper supplies: stationery, envelopes, notepads, extra post-it notes
- Shipping supplies: packing tape, labels
- Back-up office supplies: boxes of staples, packages of tape, glue sticks
- Computer/printer supplies: ink jet cartridges, external hard drives or extra charging cables
With these three easy steps, you will create an organized workspace that is cleared of both visual and physical clutter so you can now travel on that open highway, on the fast track to success. Vroom!


Love these simple steps!
Thanks so much, Ellen!