Back-to-School Tips, Part 3: How to Organize Your Child’s Artwork
It’s a young Jackson Pollock! A promising Picasso! A mini Miró! Oh, the heaps of praise and admiration we give our young artists while marveling at their latest masterpiece. But when that one masterpiece becomes one of a million masterpieces, you realize that not every creation can be framed, hung on an art wall or stuck to the fridge. How can you organize your child’s artwork and save it all? Well, my friend, I am happy to offer you some solutions!
I explored organizing school papers in my last post and gave tips on how to manage the huge volume of paper that comes into your home every day. That post presented strategies for organizing “action” or “reference” paper (field trip permission slips, class schedules, team rosters, etc.) which requires easy access and a reliable system of organization.
I will now give you tips on how to organize another kind of paper: artwork. This type of paper poses the greatest challenge for parents: what is worth saving? How can you throw any of it away? How do you determine what to save and what to toss?
Since you’re most likely already wading through (or perhaps swimming in?) an overabundance of artwork, let’s dive right in!
STEP ONE
Sort & Edit
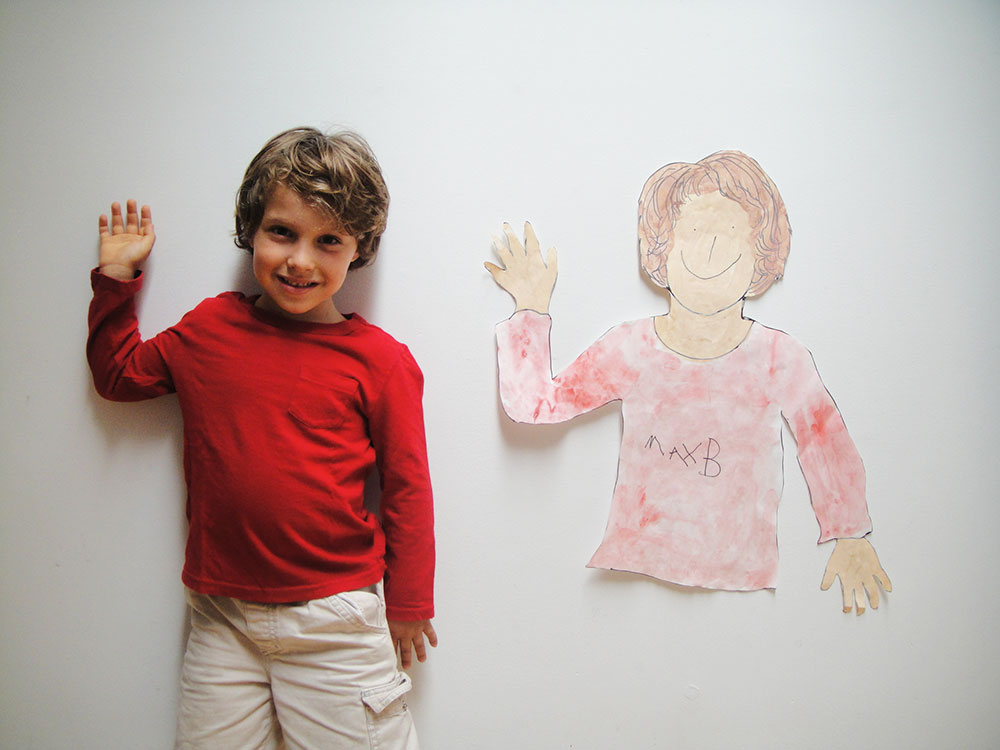
As I advised in my last post, you must exercise the edit button when paper comes through the door – and that is especially true for artwork. You will be presented with literally hundreds of pieces of artwork over your child’s lifetime. So how to deal with it? Keep only the best of the best – you can’t keep it all!
Here’s how you do it: if your child is still in elementary school, edit the pieces as they come home throughout the school year. Perform a second edit at the end of the school year. By that time, you will have a better perspective of what represents admirable work, or what illustrates important mileposts along your child’s artistic journey.
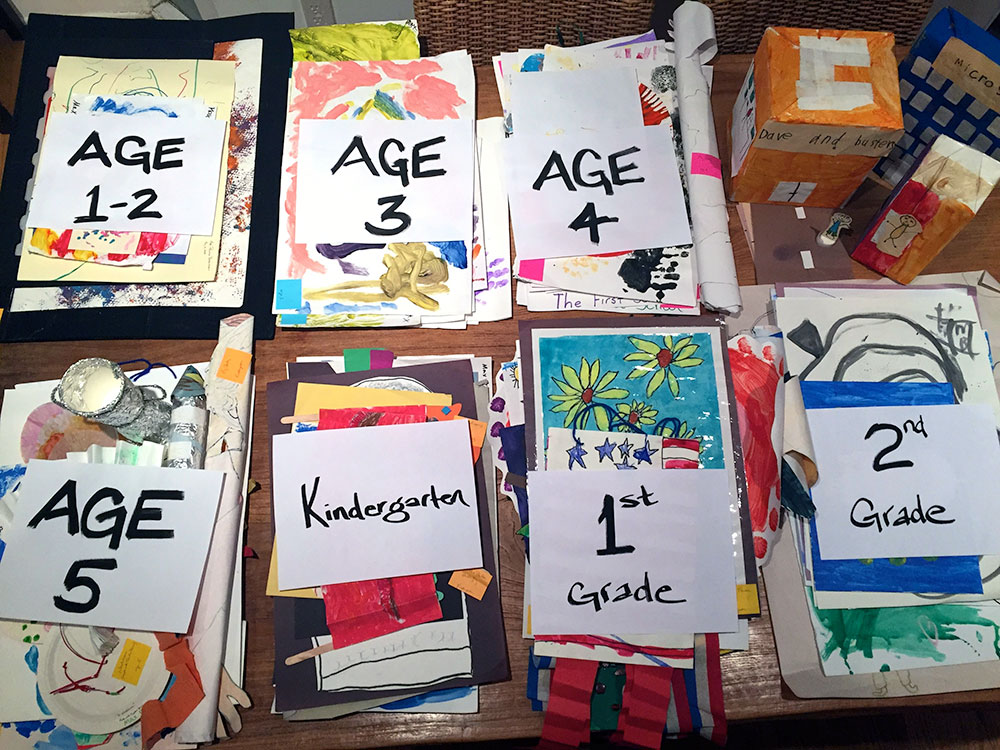
If you’re like most people and didn’t edit religiously or just tucked the art away, you may have bags of artwork that need to be sorted by age and edited for quality. Time to get started! It’s a lot easier (and actually a lot of fun) to page through your child’s artwork and walk down memory lane — and your child may delight in doing this with you.
After sorting and editing, you should have stacks of artwork for every precious year of your child’s life. Now is the time to do something about it!
STEP TWO
Archive it!
The best part about this kind of paper is that it CAN and SHOULD be archived. Other than the few special pieces that merit a rotating position on the art wall, this paper should not stay in your active space (what I call prime real estate), cluttering your life and making you go crazy. This paper should be relocated to the suburbs: stored high on a shelf in a closet, in the garage or in your basement. You have a few options for archiving artwork at this stage in the game:
Option #1:
Place all edited artwork in bins, portfolios or binders and store in a remote location.
Option #2:
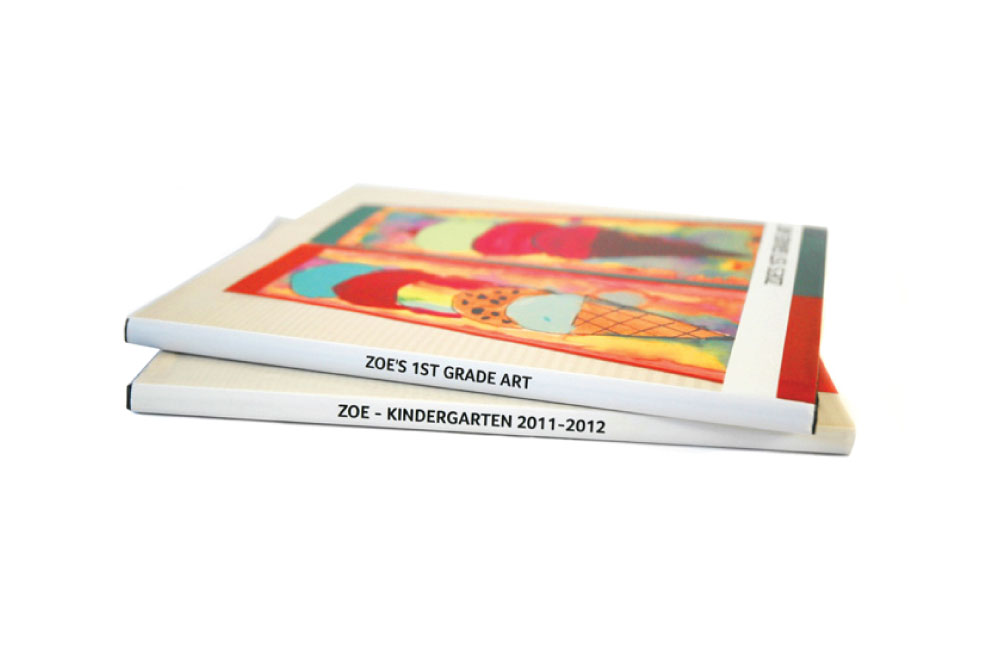
Take photos of all edited artwork and create a photo book, keeping only the most outstanding pieces and tossing the rest.
I recommend option #2. Making a photo book immediately elevates your child’s artwork to “museum quality” status, and the few pieces that you keep (OK, so it can be 10-20!) will have that much more meaning for you and your child when you reminisce and review the artwork in later years. Plus, the photo book becomes a gallery art book that can sit on a coffee table and be enjoyed by everyone again and again without sequins or glitter falling off, corners becoming torn or drawings fading.
As for making the photo book, you can do this yourself (and please know that I absolutely love making photo books but my son is almost 10 and I still haven’t made one for his artwork!), so I highly recommend that someone else do it for you.
Hello, ARTKIVE!
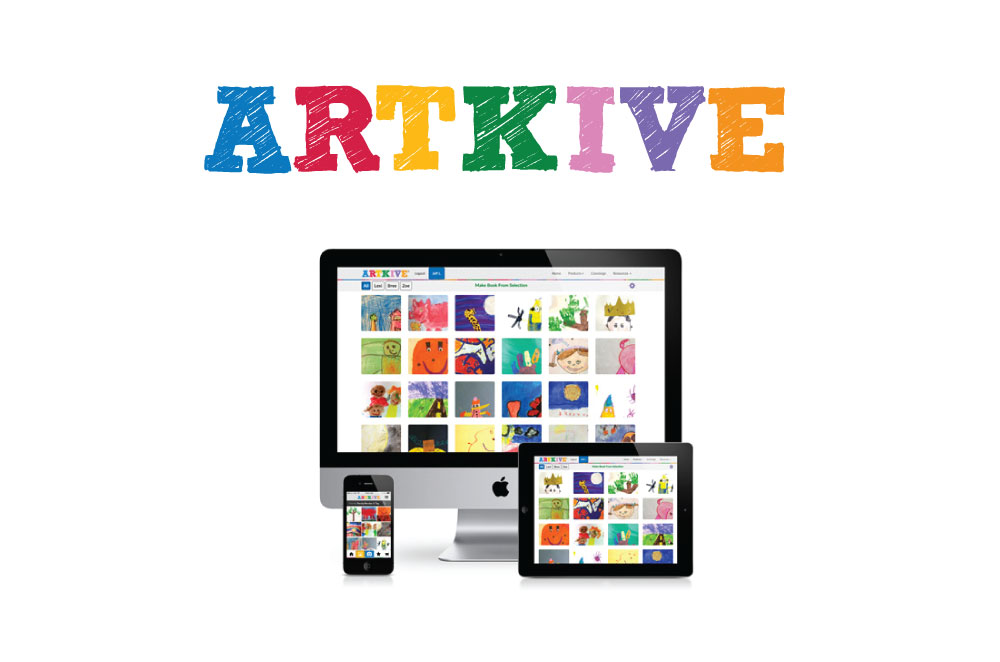
How I love Artkive! Download the app on your phone, snap photos of your child’s artwork and the photos are saved immediately (and safely) via the Artkive app into the cloud for you.
When you’re ready, you can create a photo book of your child’s masterpieces. If you have a lot of artwork, you can make a series of smaller books by filtering the art by age or grade, selecting top picks for grandma and so on. Artkive’s interactive book builder lets you customize your book to choose the cover, put the images in the order you want and add details like title, age or grade to each piece of art. Furthermore, Artkive’s books are really high quality, with superior binding (the best I’ve seen of any photo book!) on heavyweight paper.
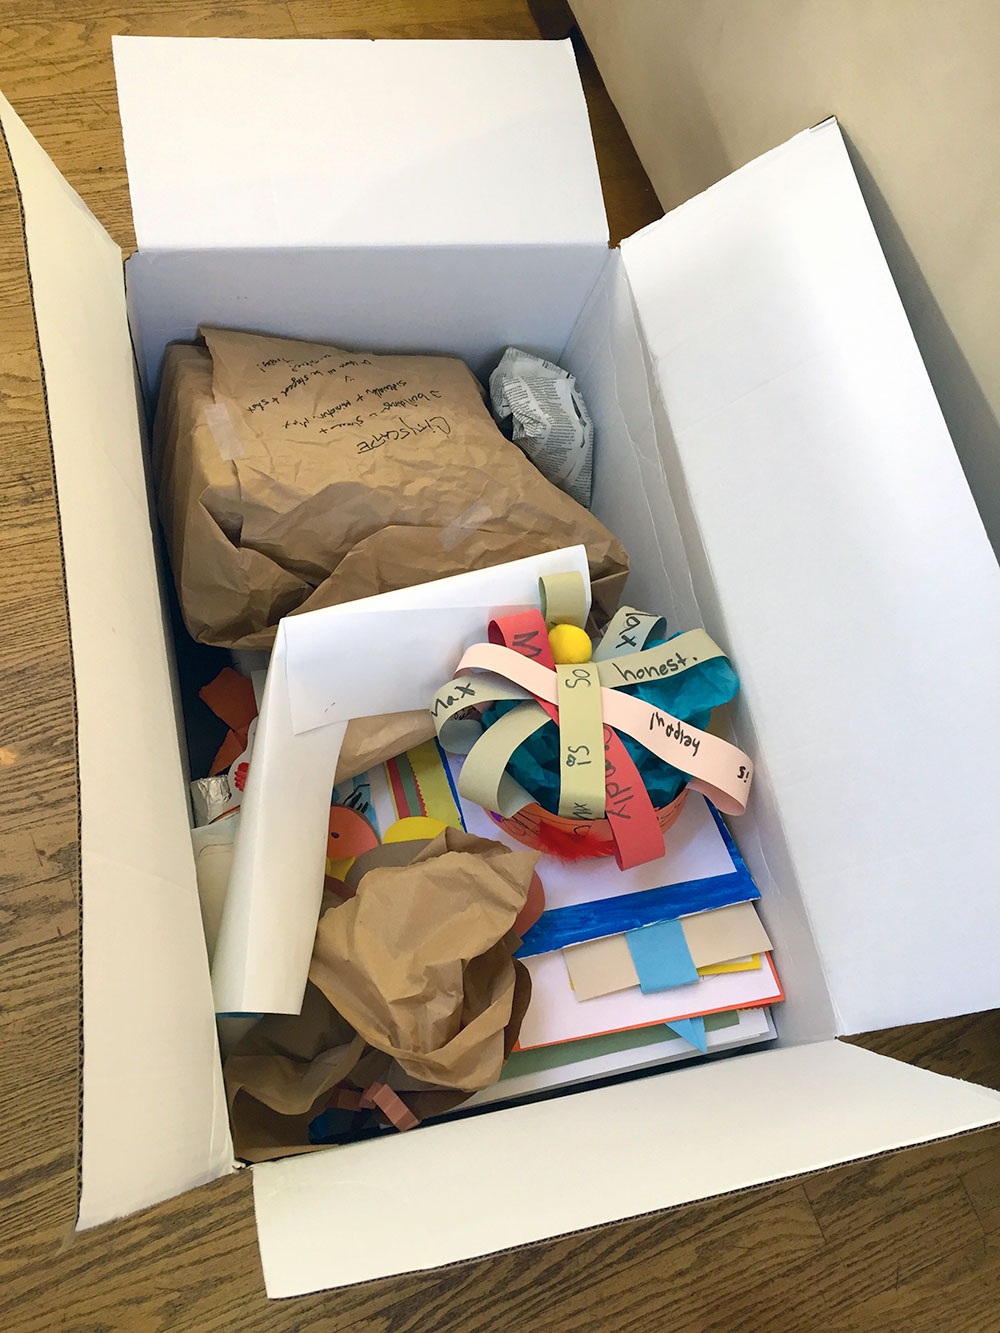
Even better, you can choose Artkive’s Concierge Service: ship them the artwork (for free), have them take all the photos and make the book for you! Artkive has a professional photographer with a studio and the proper lighting if you want to get it right. (That was my problem and why I opted for the concierge service: I kept getting weird shadows and blurry images.) Artkive also gives you the option to have all the art returned to you . . . or not. (Poof! Bye-bye, art piece #997,546!)
Now for the best part: Artkive is offering a special promotion to my readers. You have two great opportunities:
Artkive Awesomeness #1
1. Download the app
2. Email Artkive (help@artkiveapp.com) and reference “Cary Prince Organizing”
3. Get a $10 credit towards the purchase of a book, good for one month from the time of sign-up
Or, Artkive Awesomeness #2
1. Choose a Concierge Service
2. Type “Cary Prince Organizing” in the promo code box
3. Get a USB with all of your art ($25 value)
I hope these tips and ideas inspire you to dive in and start organizing your child’s artwork. What option will you choose? I’d love to hear. Any way you slice or dice it, you’ll be organized and so much happier!



Leave a Reply
Want to join the discussion?Feel free to contribute!