Decluttering Your Life Series, Part III
As we work from home right now, we are given a unique opportunity to press “pause” on the craziness, stop the busy-ness and b r e a t h e. It’s also a time when we can simplify our lives, declutter and get organized for life after coronavirus.
When we think of clutter, we generally envision a room with too much stuff, piled high with items that no longer serve their purpose. There is another type of clutter that is equally, if not more, as invasive and pervasive: digital clutter.
The difference between physical and digital clutter is that you ultimately get to the point of having to purge material objects because you can’t keep them all. The unique aspect to digital clutter is that you can keep it all. Computer memory is constantly expanding, external hard drives are readily available and the cloud takes this game to an entirely different level. But do you need to keep it all? It may be time to think about your goals.

In Part 1 of the Decluttering Your Life series, we dealt with the issue of decluttering your stuff, and that the secret to doing it – and being successful – is identifying your “why.”
As for your digital life, why would you need to declutter it? Since we’re now juggling more and more activities at home, the answer is obvious. Your computer has become a jumbled mess and you can’t find documents you need, especially when you need them most. You may find yourself buried in emails, feeling like you can never get ahead. You are constantly challenged to be productive – but how can you, when you have so much on your screen, vying for your attention? It may be time for a little digital decluttering.
Decluttering is the act of reviewing and removing items you no longer need. You can do the same thing with the digital files on your computer. I’m also going to help you take that a few steps further to put the items you are keeping in an ordered manner so you can access, find and use them again.
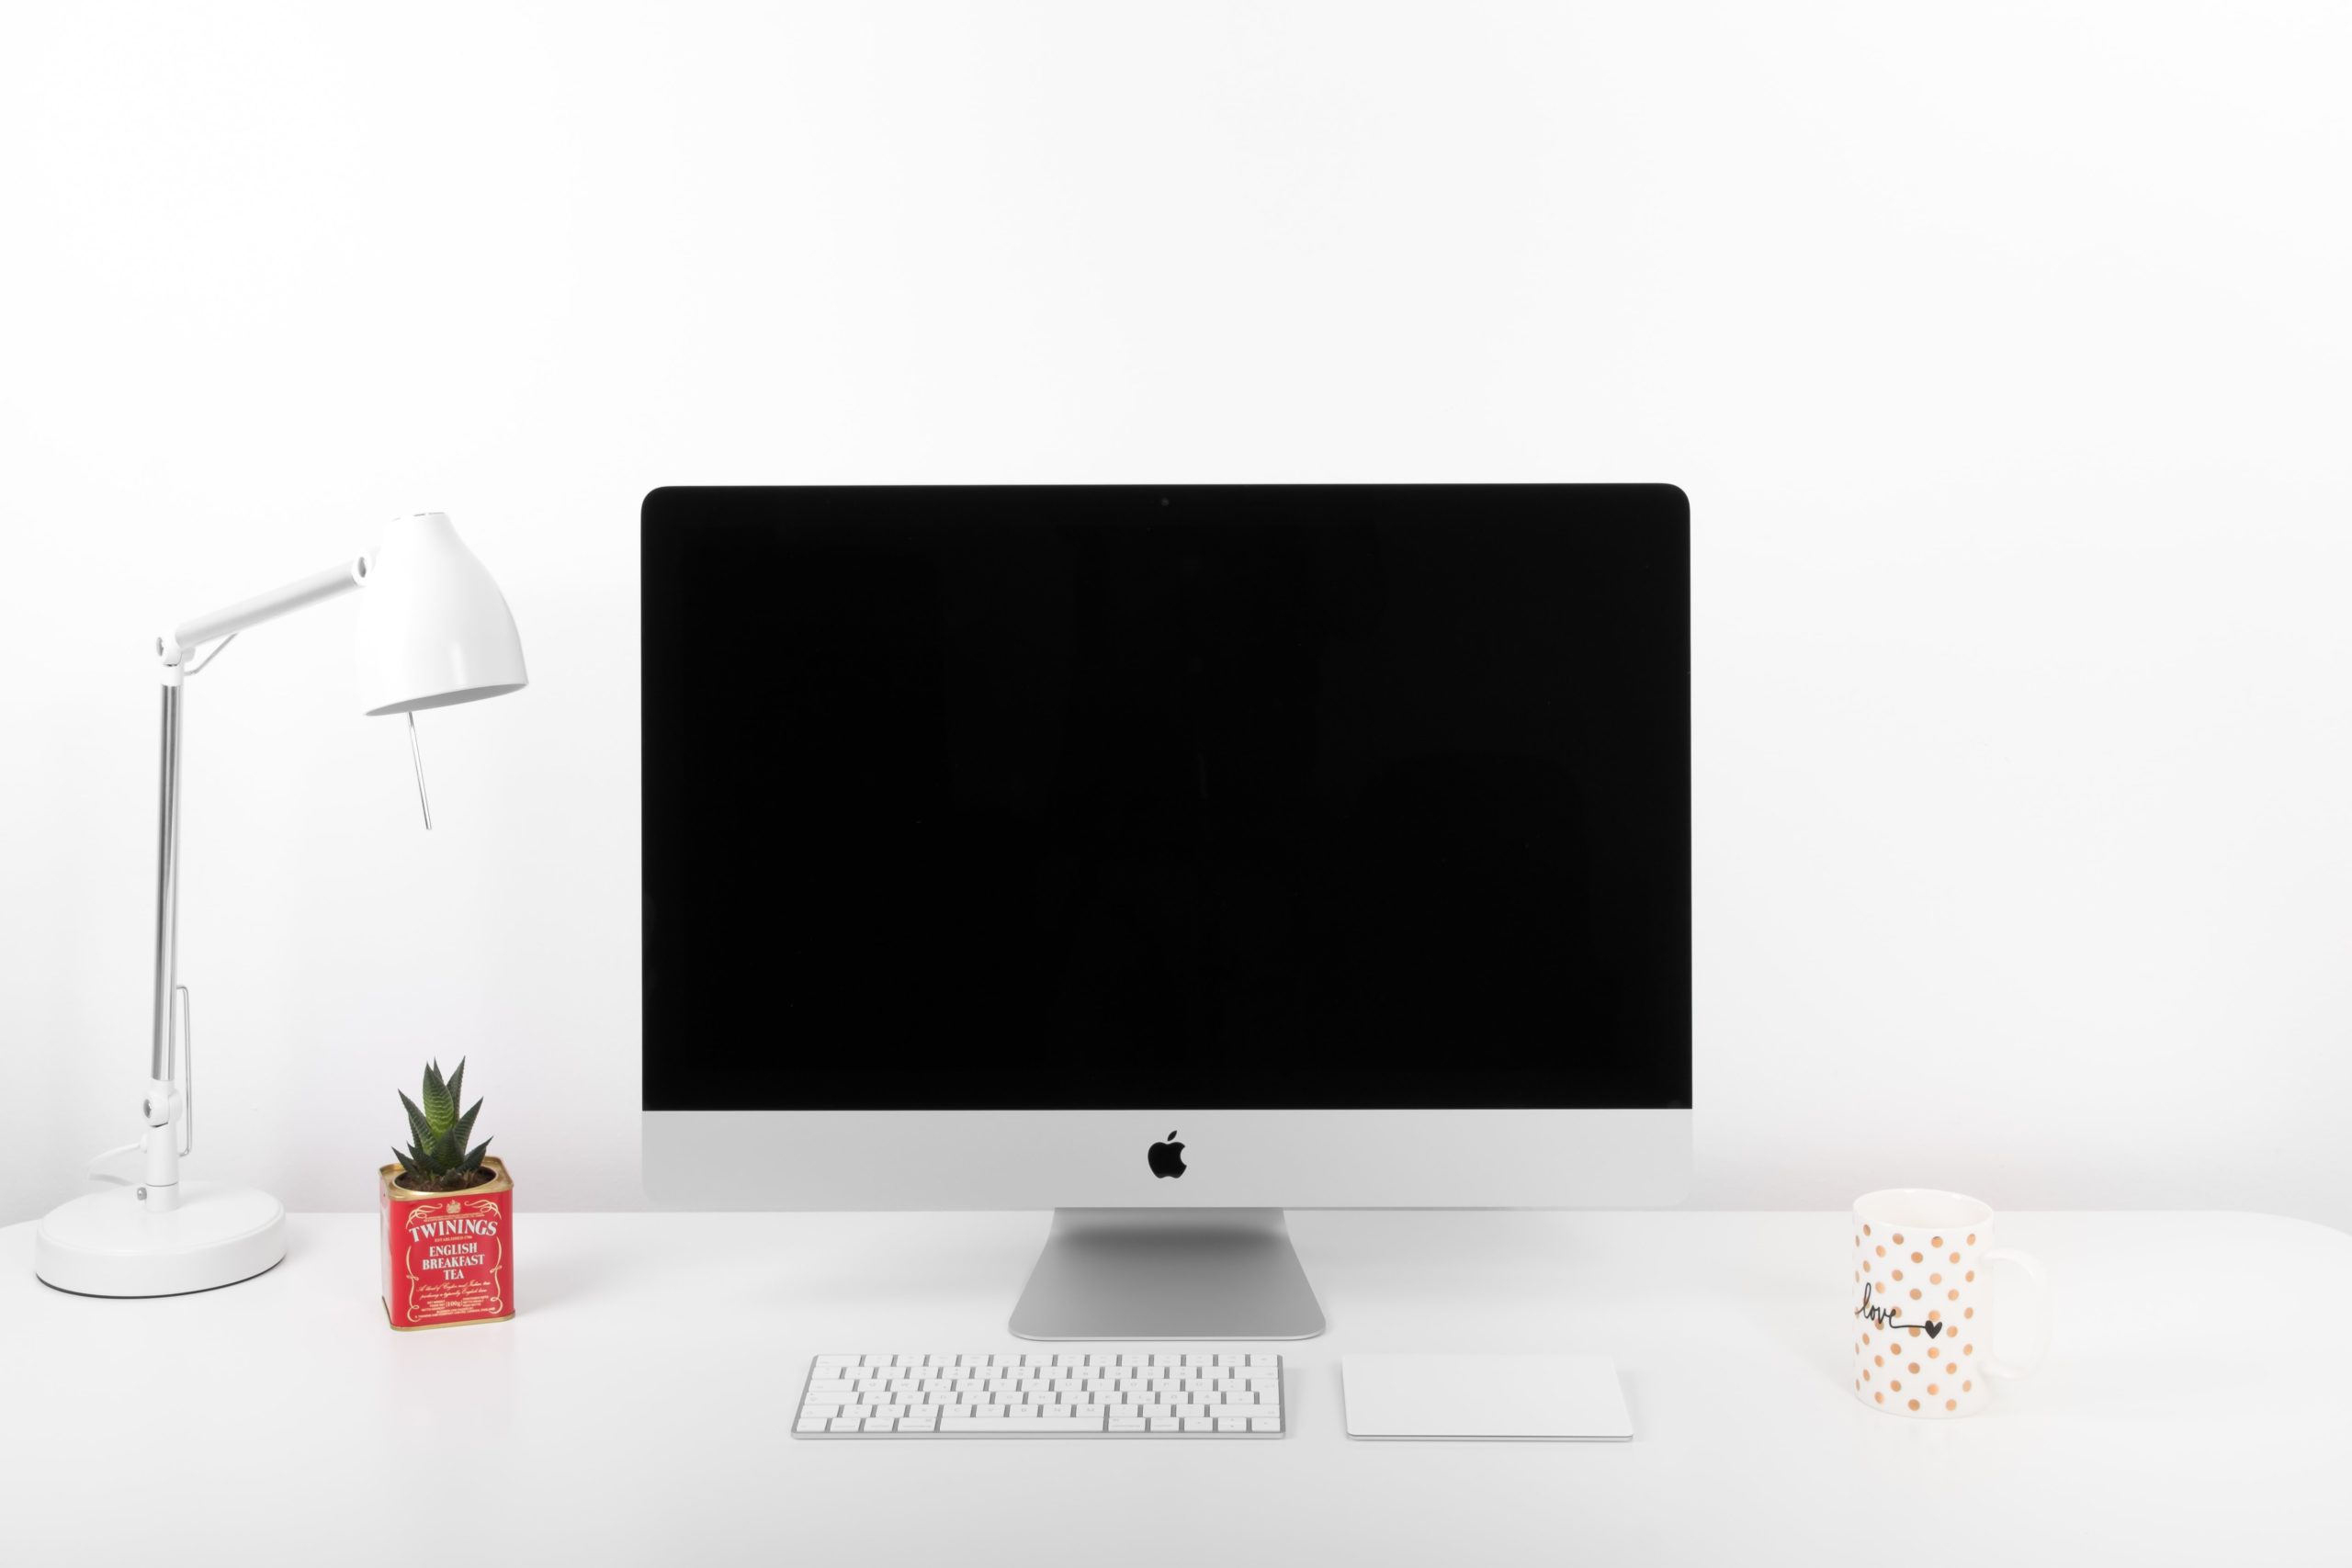
Decluttering Your Desktop
I like to start with the desktop, as that is the gateway to your cyber life and virtual welcome mat to your digital home. Are icons of files, apps and shortcuts littered across your desktop screen like shoes and mail across an entryway? Let’s clean it up!
Step 1: Declutter Your Desktop
First, is your computer set to save screenshots or downloads to your desktop? If so, take a few moments and review what’s here: are there scores of screenshots or outdated files that you no longer need? If you downloaded a PDF or an article to read “one day” and that day was 8 years ago, it’s time to let it go. Be ruthless! Delete, delete, delete.
On the other hand, are there old files that can be archived elsewhere? Perhaps a presentation you were working on that you’ve already given, or a project you’ve already delivered? Take the time now to drag/save these files into your Documents folder. We’ll discuss the Documents folder in the next section.
Step 2: Organize Your Desktop
After you’ve made that initial purge of files from your desktop, the next step is to drag the remaining icons on your desktop into one folder. While you do that, ask yourself: why did I leave the files here? So I could find them quickly? Are they a work in progress that I wanted to keep “top of mind” (and in front of my eyes) every time I turn on my computer? If so, by giving all of these files a new “home” on your desktop and putting them into one folder, you’ll know where they are and where you can find them when you need them again. You can name the folder “Action” or “Desktop Items” since the desktop is the place where you parked these files. Your screen will now be a clear, fresh visual (look for inspiring desktop backgrounds!), inviting you to come in, have fun and get work done.
Step 3: Migrate Off the Desktop
If you are willing to take your digital cluttering and organizing one step further, the next step would be to move items in that “Desktop Items” folder to your Documents folder, off of your desktop. Historically, saving documents to your desktop was discouraged by the computer IT folks. The desktop files can be lost in a system restore, anti-virus programs aren’t programmed to review them and it puts a drain on your computer’s processing speed which can negatively impact your work. It’s fine to save short-term documents (like screenshots) to your desktop that you will ultimately delete, but it is a good habit to save your files elsewhere. Fortunately, now with cloud computing, most operating systems are set to save desktop files to the cloud so your documents are secure even if your computer crashes.
Step 4: Optimize & Customize Your Finder or Windows Explorer
The last step is to put the items that “Desktop Items” folder of über-important, active items in an obvious place where you can find it. There are some great online tutorials, depending on which operating system you use. On both Mac’s Finder, you can add that folder to the sidebar, and in Windows, you can customize your Start menu with items you need regularly.
Decluttering Your Folders
Once we move from your desktop and into your documents folder, we’re diving in! This is where digital decluttering and organizing really takes place.
Step 1: Create Folder Hierarchy
Think about your work and your life. Can you identify broad areas of your life to assign folders and categorize these files? (e.g. Personal, Family, Work) You could even get a little more granular and create a folder for each family member or for various aspects of your work. As an example, my work folder is divided into 5 main categories:

Step 2: Organize Your Files
Once you have created folders for your broad categories, you can start moving individual files into the corresponding folder. This can be quick work to put all of your loose files in their proper home. The result? A map that organizes your digital life.
If you want to organize your files further, you can create subfolders within each main folder. I have several subfolders in my main folders. When I’m working quickly, I simply drag documents into one of my main folders to keep my Documents folder clean and organized. Once a week, I’ll go into each folder and move files into the correct subfolder.
Step 3: Name Your Files
The final step to organizing your files is to name them properly by using a consistent naming convention (e.g. yyyy-mm-dd_filename).
Clear, consistent names solve two problems: 1) You avoid having a bunch of files labeled “Screen Shot 2019-09-01 at 5.30.26 PM” or “58630286016__924765E2-B6F2-4644-8A41-4B563E115 2.jpg” and 2) the name you use will help you find that file in the future.
Filing is all about retention and being able to retrieve the information when you need it again. If you are unable to find or identify documents by looking at the file name, or worse, if that document doesn’t come up in results after a keyword search, why are you saving this file? Any attempt to save, retain and recall this information is a futile effort.
There are several online tutorials to help you create a consistent naming convention for your files, like Best Practices for File Naming.
And the best practice of all? Get in the habit of naming (or renaming) files as you save them.

I hope this guide inspires you to streamline and simplify your digital life. While the files may be intangible, they are silently hiding in the background, reminding you of the disorganized chaos your computer has become. By finding, keeping and filing what’s important to you – and, most importantly, deleting the rest – you are freeing your mind from the mere weight of that tangled digital mess. It’s liberating – and that feels so very good indeed!




Leave a Reply
Want to join the discussion?Feel free to contribute!