


Have you jumped on the baking bread bandwagon yet? If not, here’s your invitation to join the ride!
Sheltering in place has brought out the chef in many of us. All of these weeks of staying indoors, eating at home, preparing three meals a day and being inches from our kitchens has given us lots of reasons to rattle those pots and pans . . . and to get cooking!
One of my favorite food groups has risen – literally – to the occasion: bread. I often swear that I could live off of bread and water alone. (OK, so maybe throw in some chocolate….) But I have also sworn off bread for years as we have chosen to go low-carb with our Paleo, Keto or Dr. Adkins-type diets. No more! Lockdown be darned, I’m gonna eat me some bread. And what’s better than eating it? Baking it yourself and then eating it so you get to enjoy the fruits of your labor. This lockdown is hard work!
My Sourdough Story
Almost 25 years ago, I was gifted sourdough starter by a wonderful 70+-year-old man who I met while on a camping trip. He and his wife were making sourdough pancakes on a griddle and I was immediately drawn in. First, sourdough – yum! And in pancake form? Even better! He told me the story of his sourdough starter: the prospectors had brought it out west in 1849 and it had been passed down to him over the years by his ancestors. Sensing my intense interest in this amazing gooey staff of life, he bequeathed a cup of this cherished sourdough starter to me. He left me with wise words on how to care for it and feed it to keep it alive and kicking for years to come.

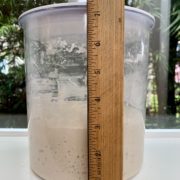
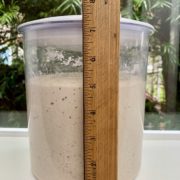
The care & feeding of my sourdough starter
I’m the proud mama of this sourdough starter, and even prouder to say that I have dispersed its offspring to friends around the country who are hopefully doting on them with the same love, dedication and devotion as I have. For years, I kept my starter alive by making the occasional sourdough pancakes (and sourdough apple or banana fritters) on a Saturday morning. But with all this extra time on my hands, I have dived into the world of making sourdough bread. And what a bold, new world it is!
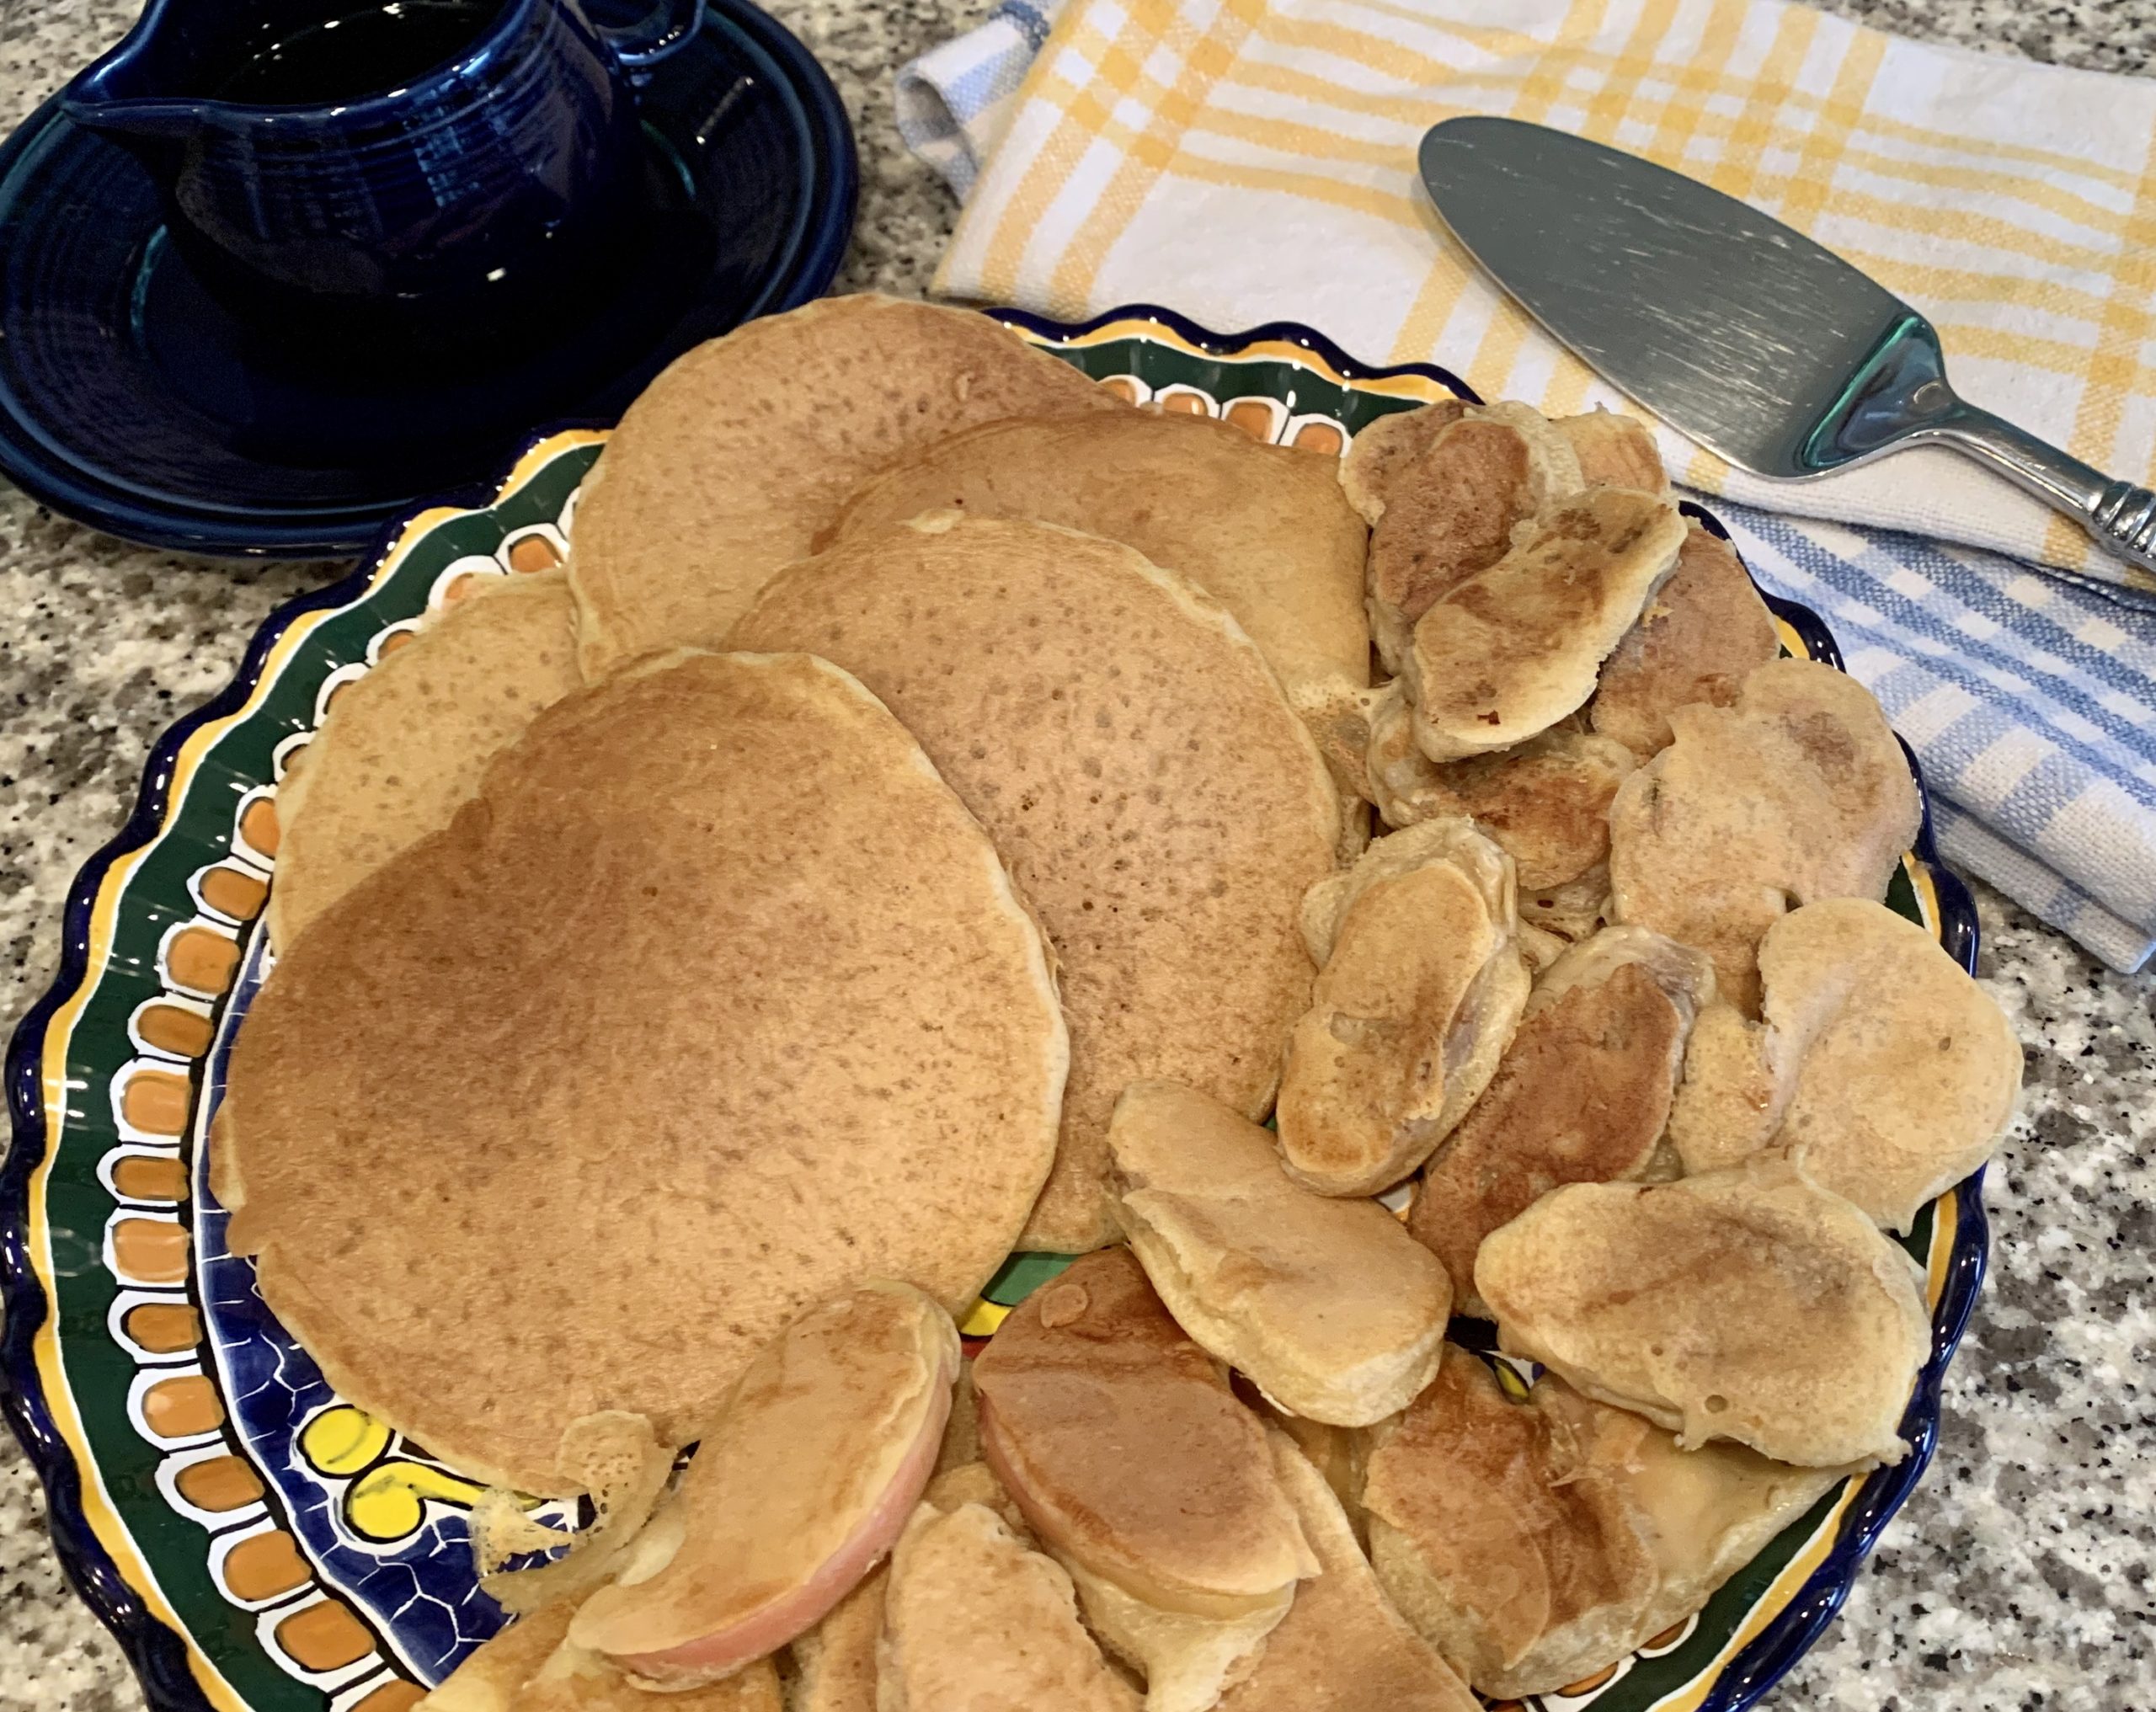
Sourdough pancakes with apple & banana fritters
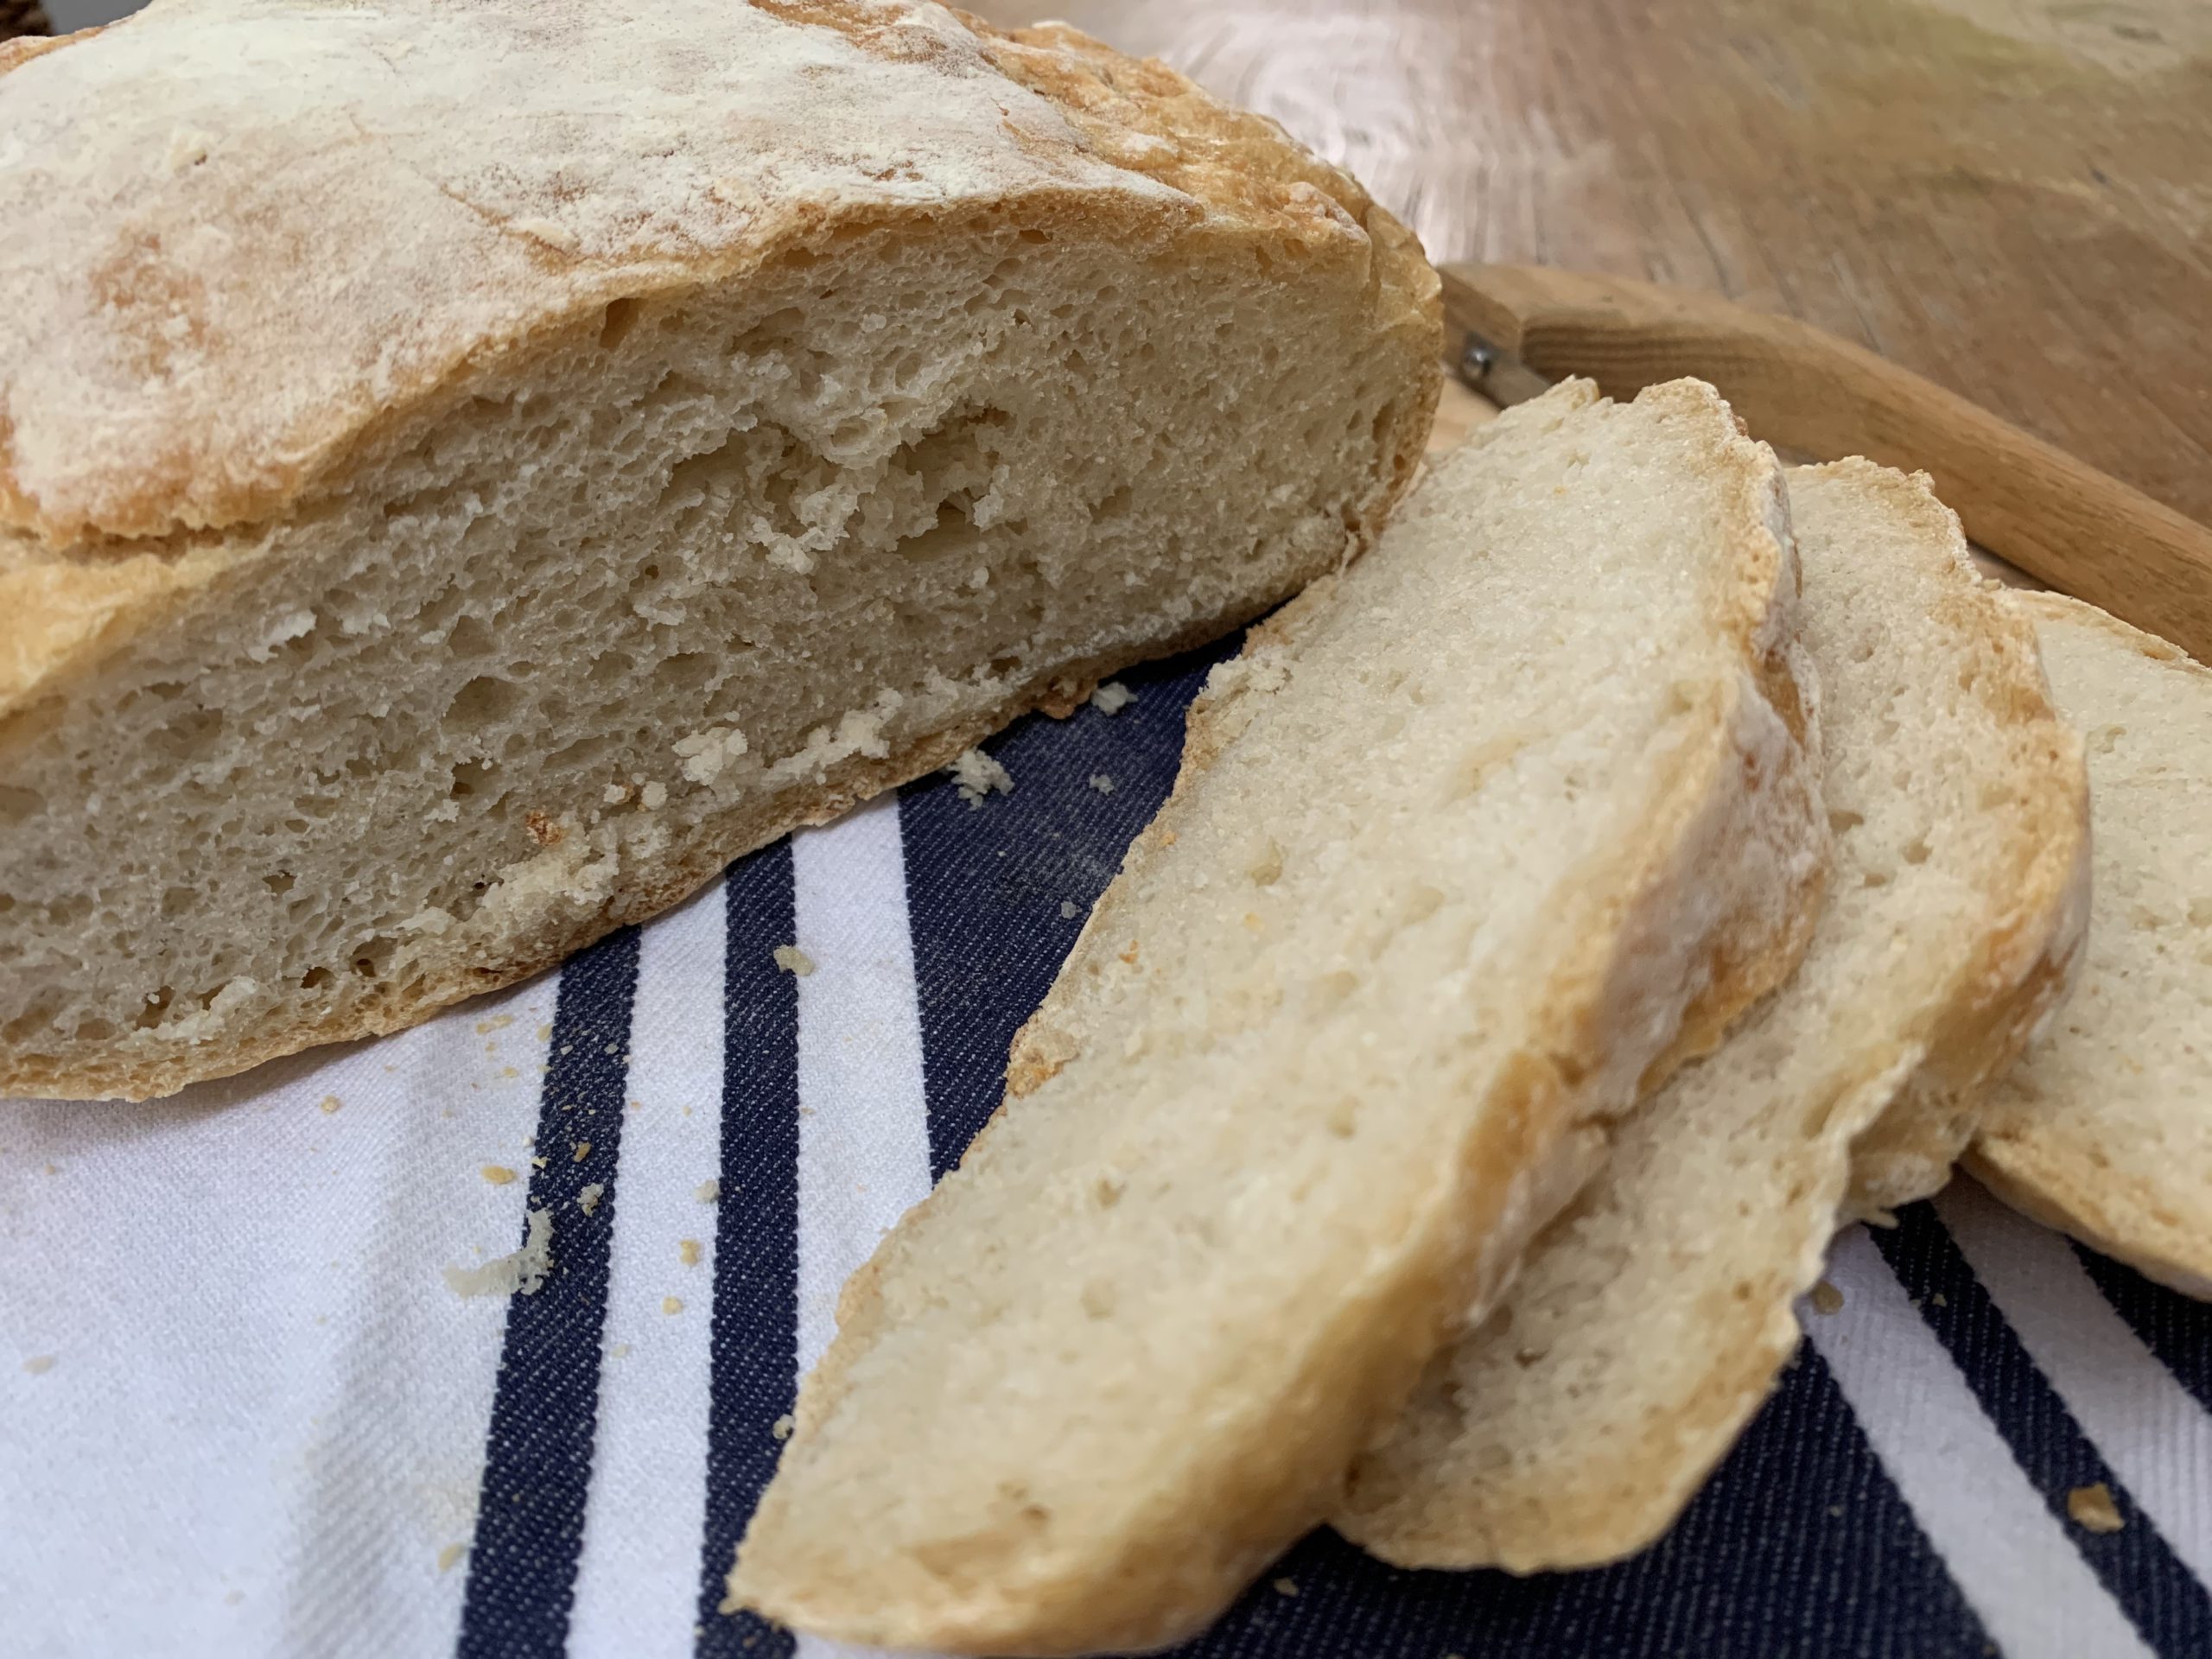
Baking Sourdough Bread
There are countless recipes online, with step-by-step instructions, video tutorials and masterclasses (!) on how to make sourdough bread. You can literally become a groupie and spend hours drooling over the photos, videos and stories of rock star professional chefs and amateur cooks honing their skills at baking bread. One of the easiest methods is Jim Lahey’s famous No-Knead Bread Video with its accompanying No-Knead Bread Recipe. The New York Times even made a tweak to that recipe if you’re using sourdough bread starter with their Sourdough No-Knead Bread Recipe. Using The New York Times recipe as a guide, I’ll share my version here which includes a few personal adjustments that have worked for me.
Happy baking – and bon appétit!
Sourdough No-Knead Bread
Ingredients:
3½ cups unbleached all-purpose flour*
1 teaspoon kosher salt
1¼ cups lukewarm water**
¾ cup “fed” sourdough starter
*For lighter/wetter bread, I use less flour – usually about 3 cups of flour. You can also substitute some or all of the flour with whole wheat flour.
**If you use whole wheat flour, add more water: if using 50% whole wheat flour, use 1 2/3 cup water; if using all whole wheat flour, use 2 cups water.
Instructions:
Step 1
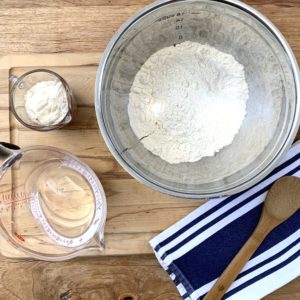
Mix flour & salt in large mixing bowl.
Step 2
Mix sourdough starter and water in separate bowl.
Step 3
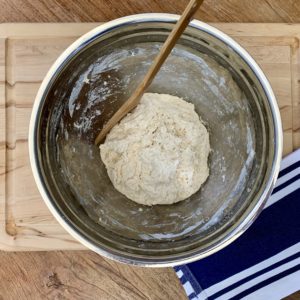
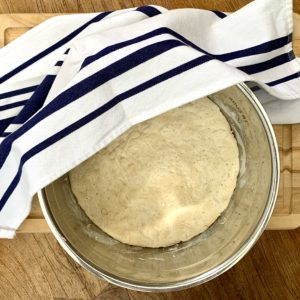
Pour sourdough/water mixture into flour mixture and combine until all of the flour has been incorporated. Dough will be very sticky and wet – and this is good! Use scraper or spoon to get any dough off the sides of bowl and add to dough at bottom of bowl. Cover with plastic wrap and a tea towel (this prevents hard edges from developing) and let rise for 12-24 hours.
Step 4
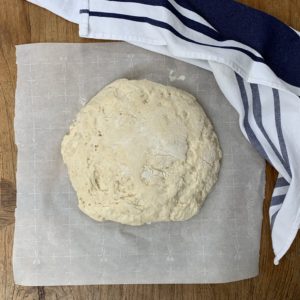
Dust kitchen surface with flour. Your dough should have risen a lot – at least doubled in size – and you should see lots of bubbles on top. Scoop out dough onto floured surface, and with lightly dusted hands (or oiled hands, as Bon Appétit advises) pat into a rectangle and begin folding dough into the center to form a ball: lift and fold top to middle, bottom to middle, side to middle and other side to middle. Seal the dough together into a ball, and place seam side down on flour-dusted parchment paper. (Note: if you have proofing baskets or you’d like to proof in a colander, line with tea towel, generously dust with flour, and place dough seam side up). Cover with tea towel and let rise for another 2 hours.
Step 5
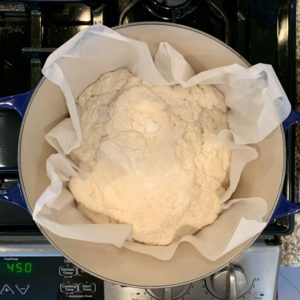
Heat oven to 450. Place Dutch oven with lid (e.g. Le Creuset or heavy pot) in oven and let heat up for at least 30 minutes. When the dough is ready for baking, remove pot from the oven, pick up dough on parchment paper and place carefully, both dough and parchment paper, directly into the pot. (If you have proofed in a basket/bowl, put parchment paper on a plate, invert dough onto parchment paper and place in pot). Cover with lid and put back in oven.
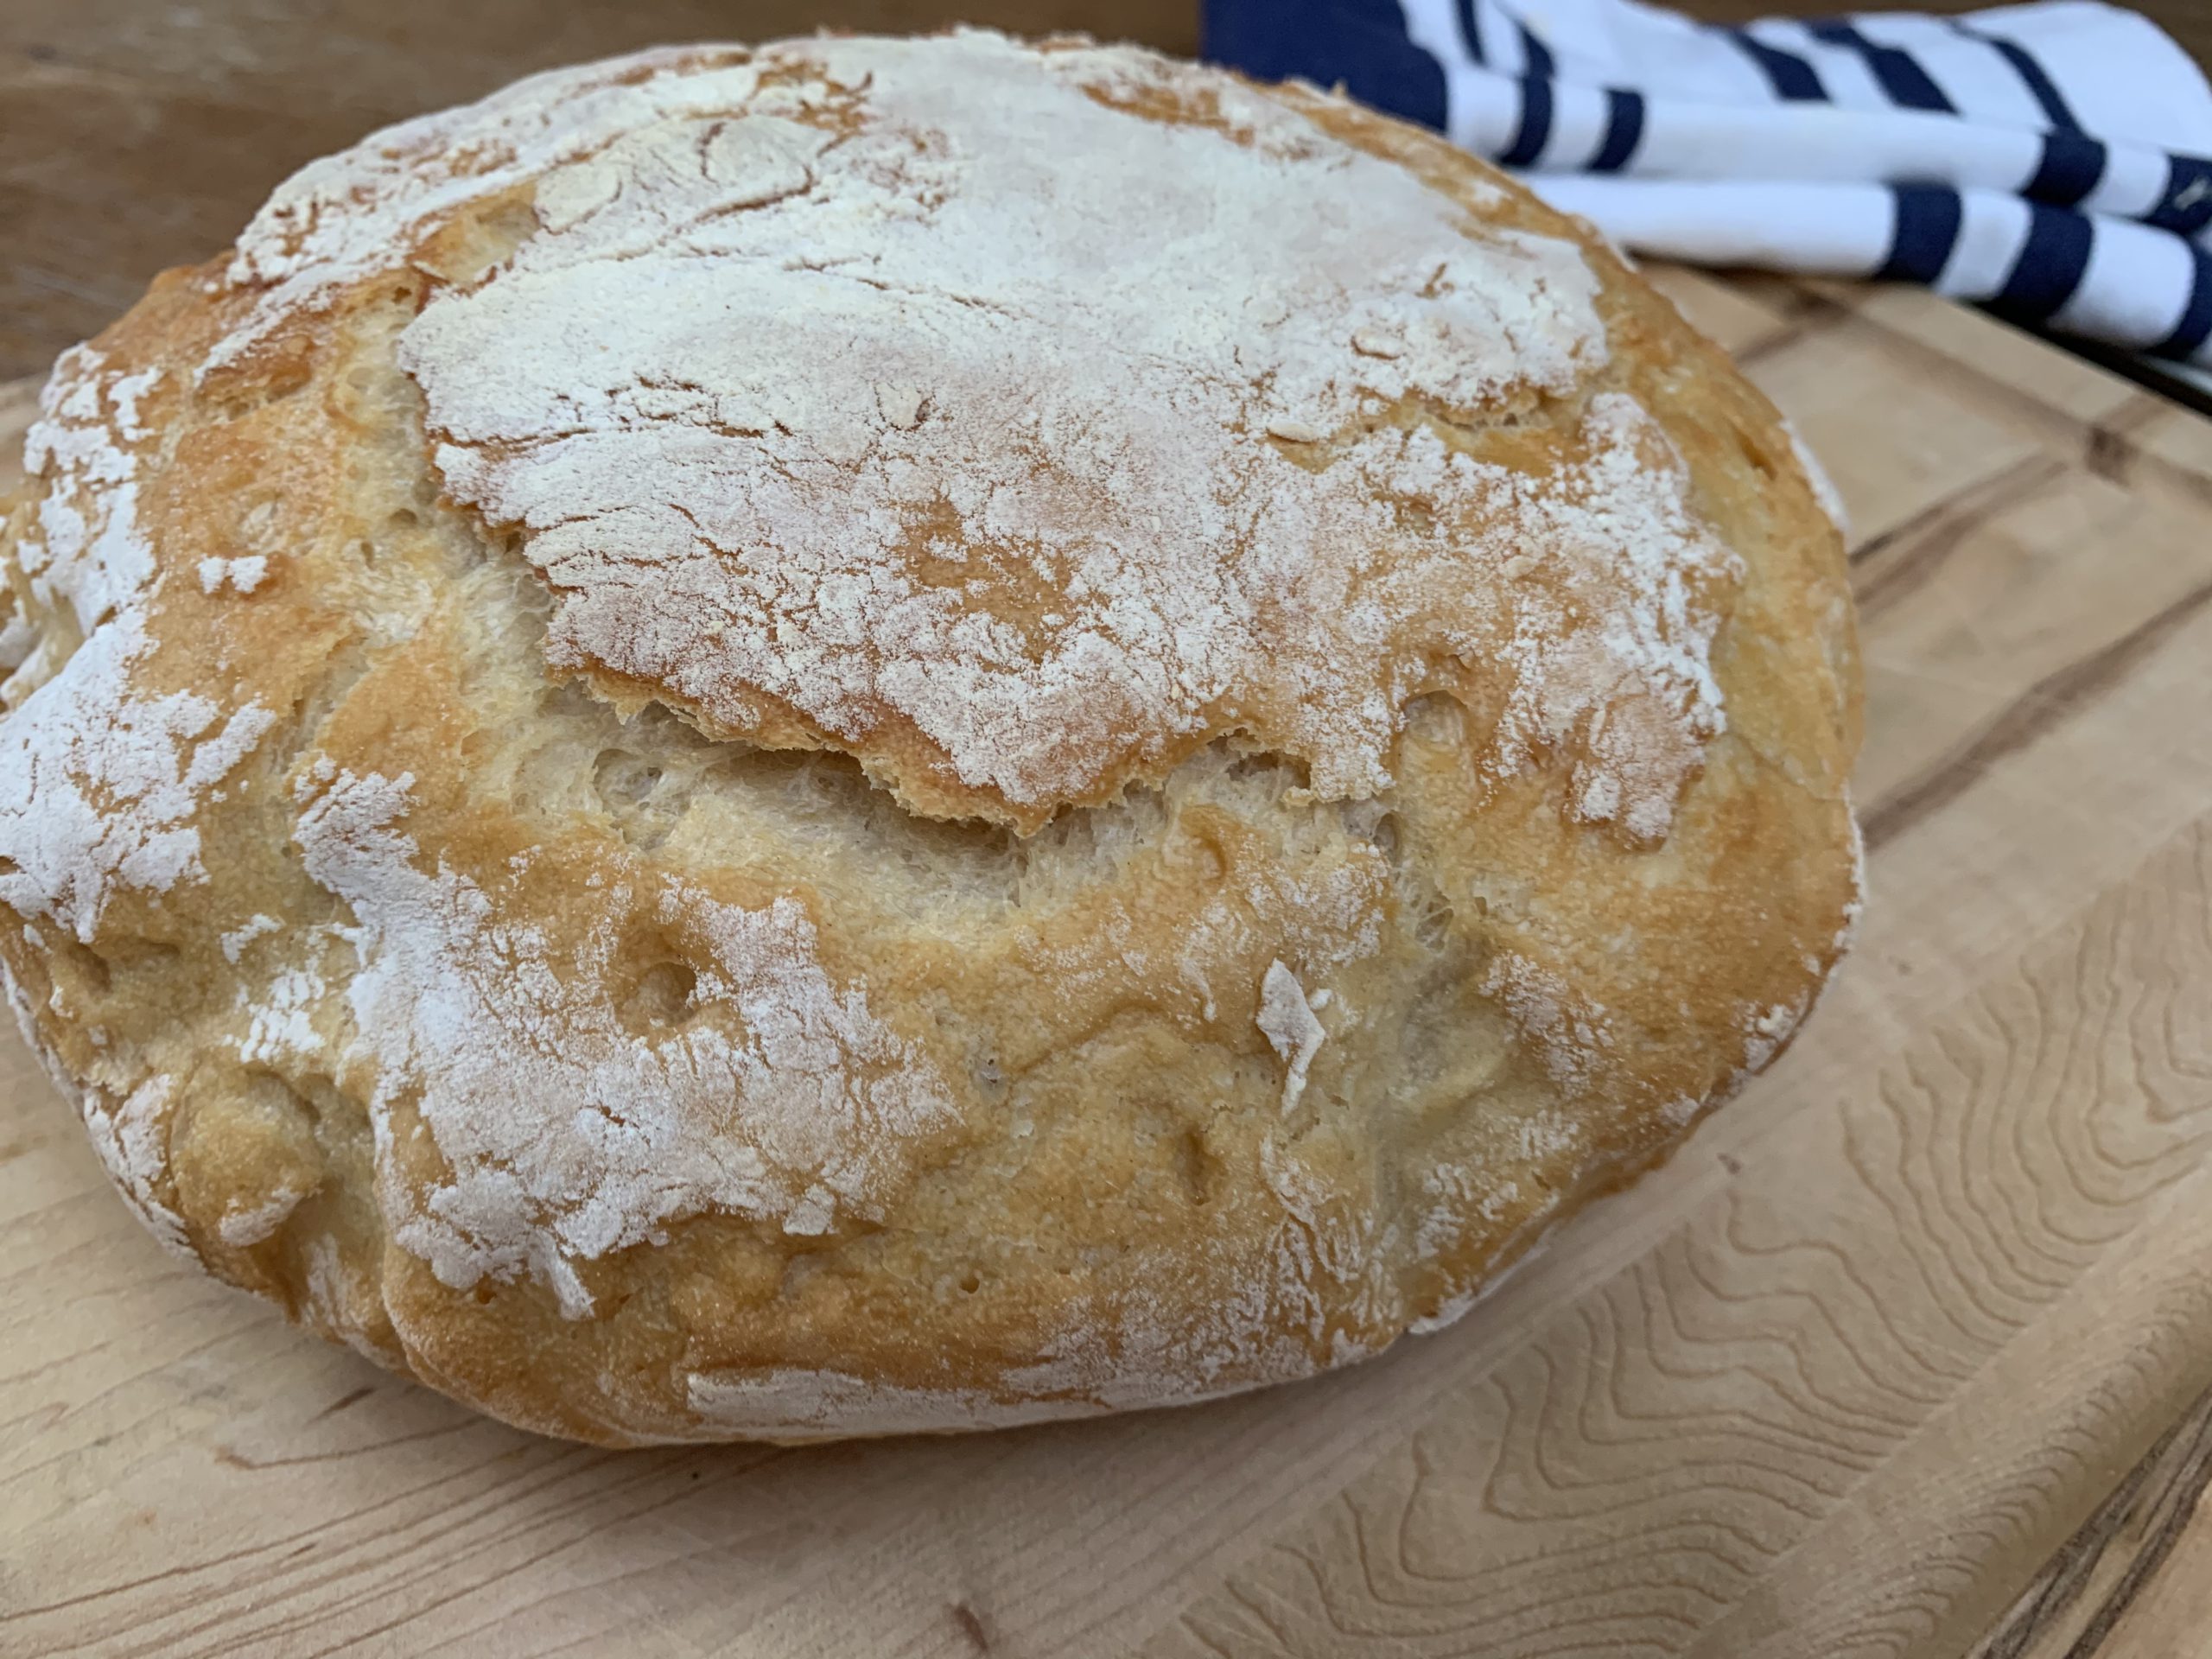
Step 6
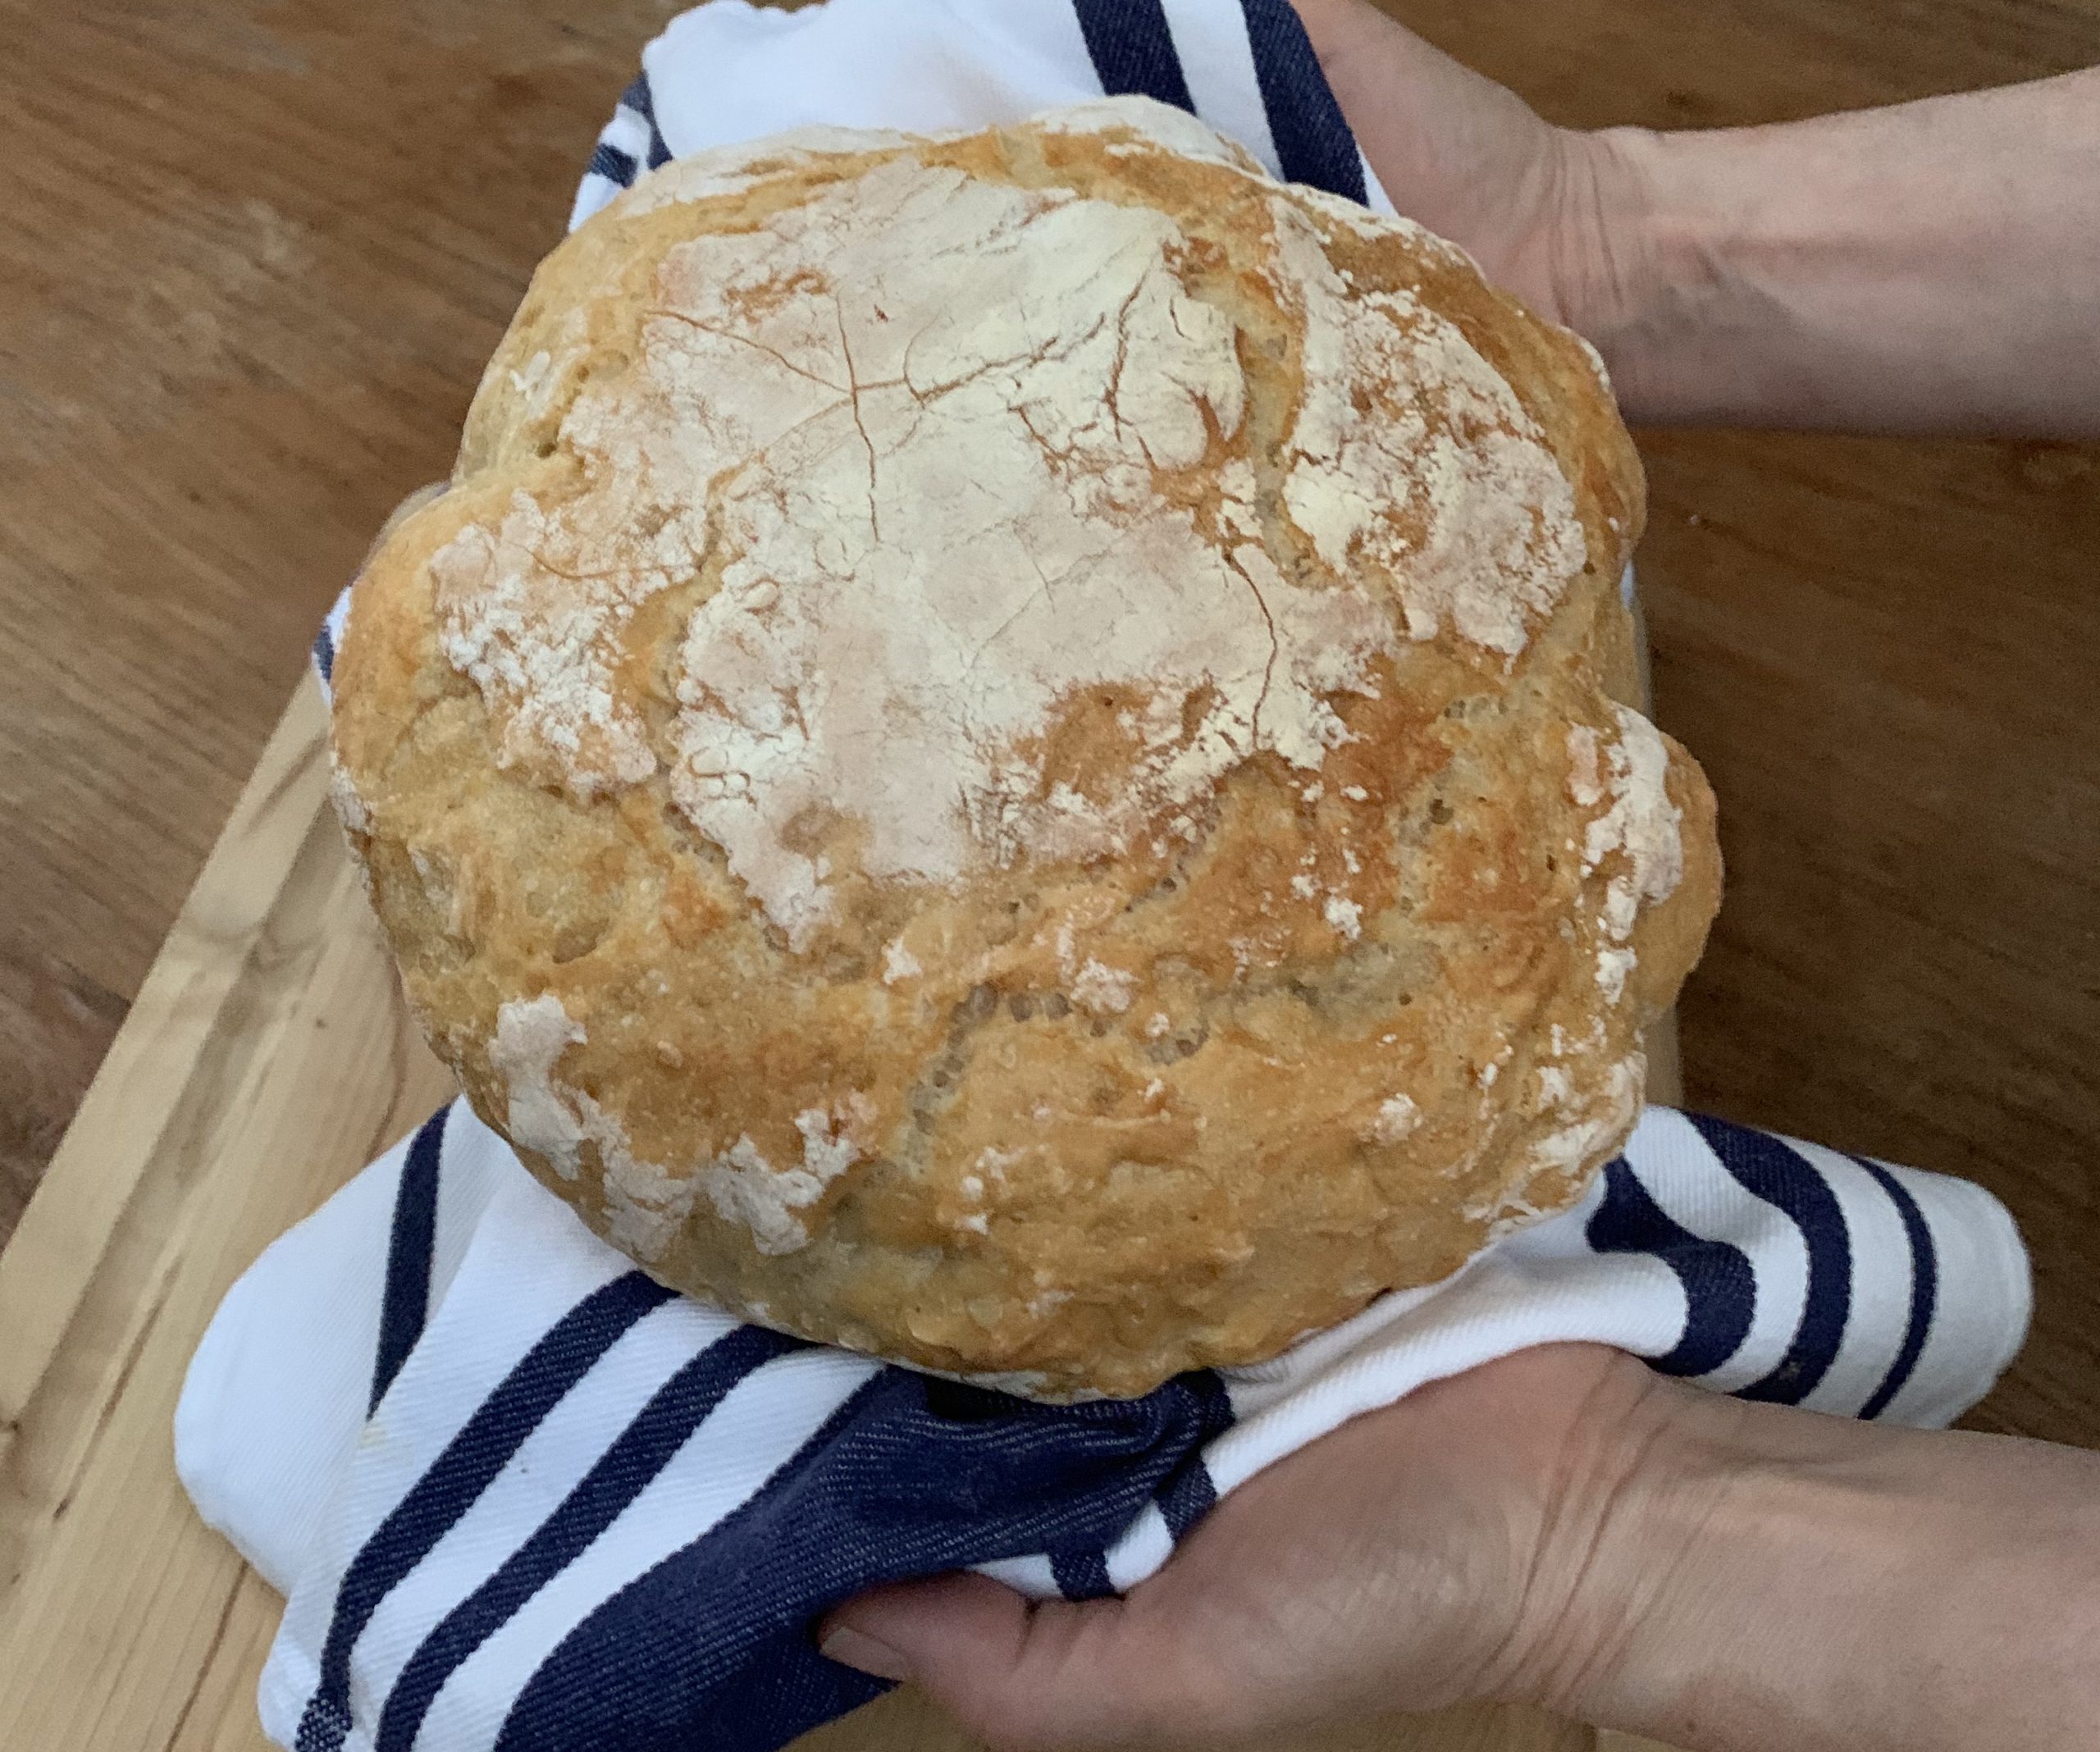
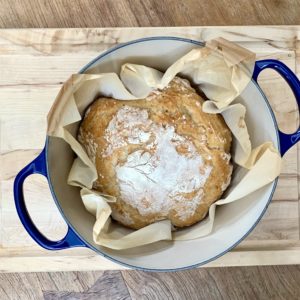
Bake with lid on pot for 30 minutes. Remove lid and bake for another 20 minutes uncovered. Remove from oven, lift bread out of pot and let cool for at least 30 minutes.
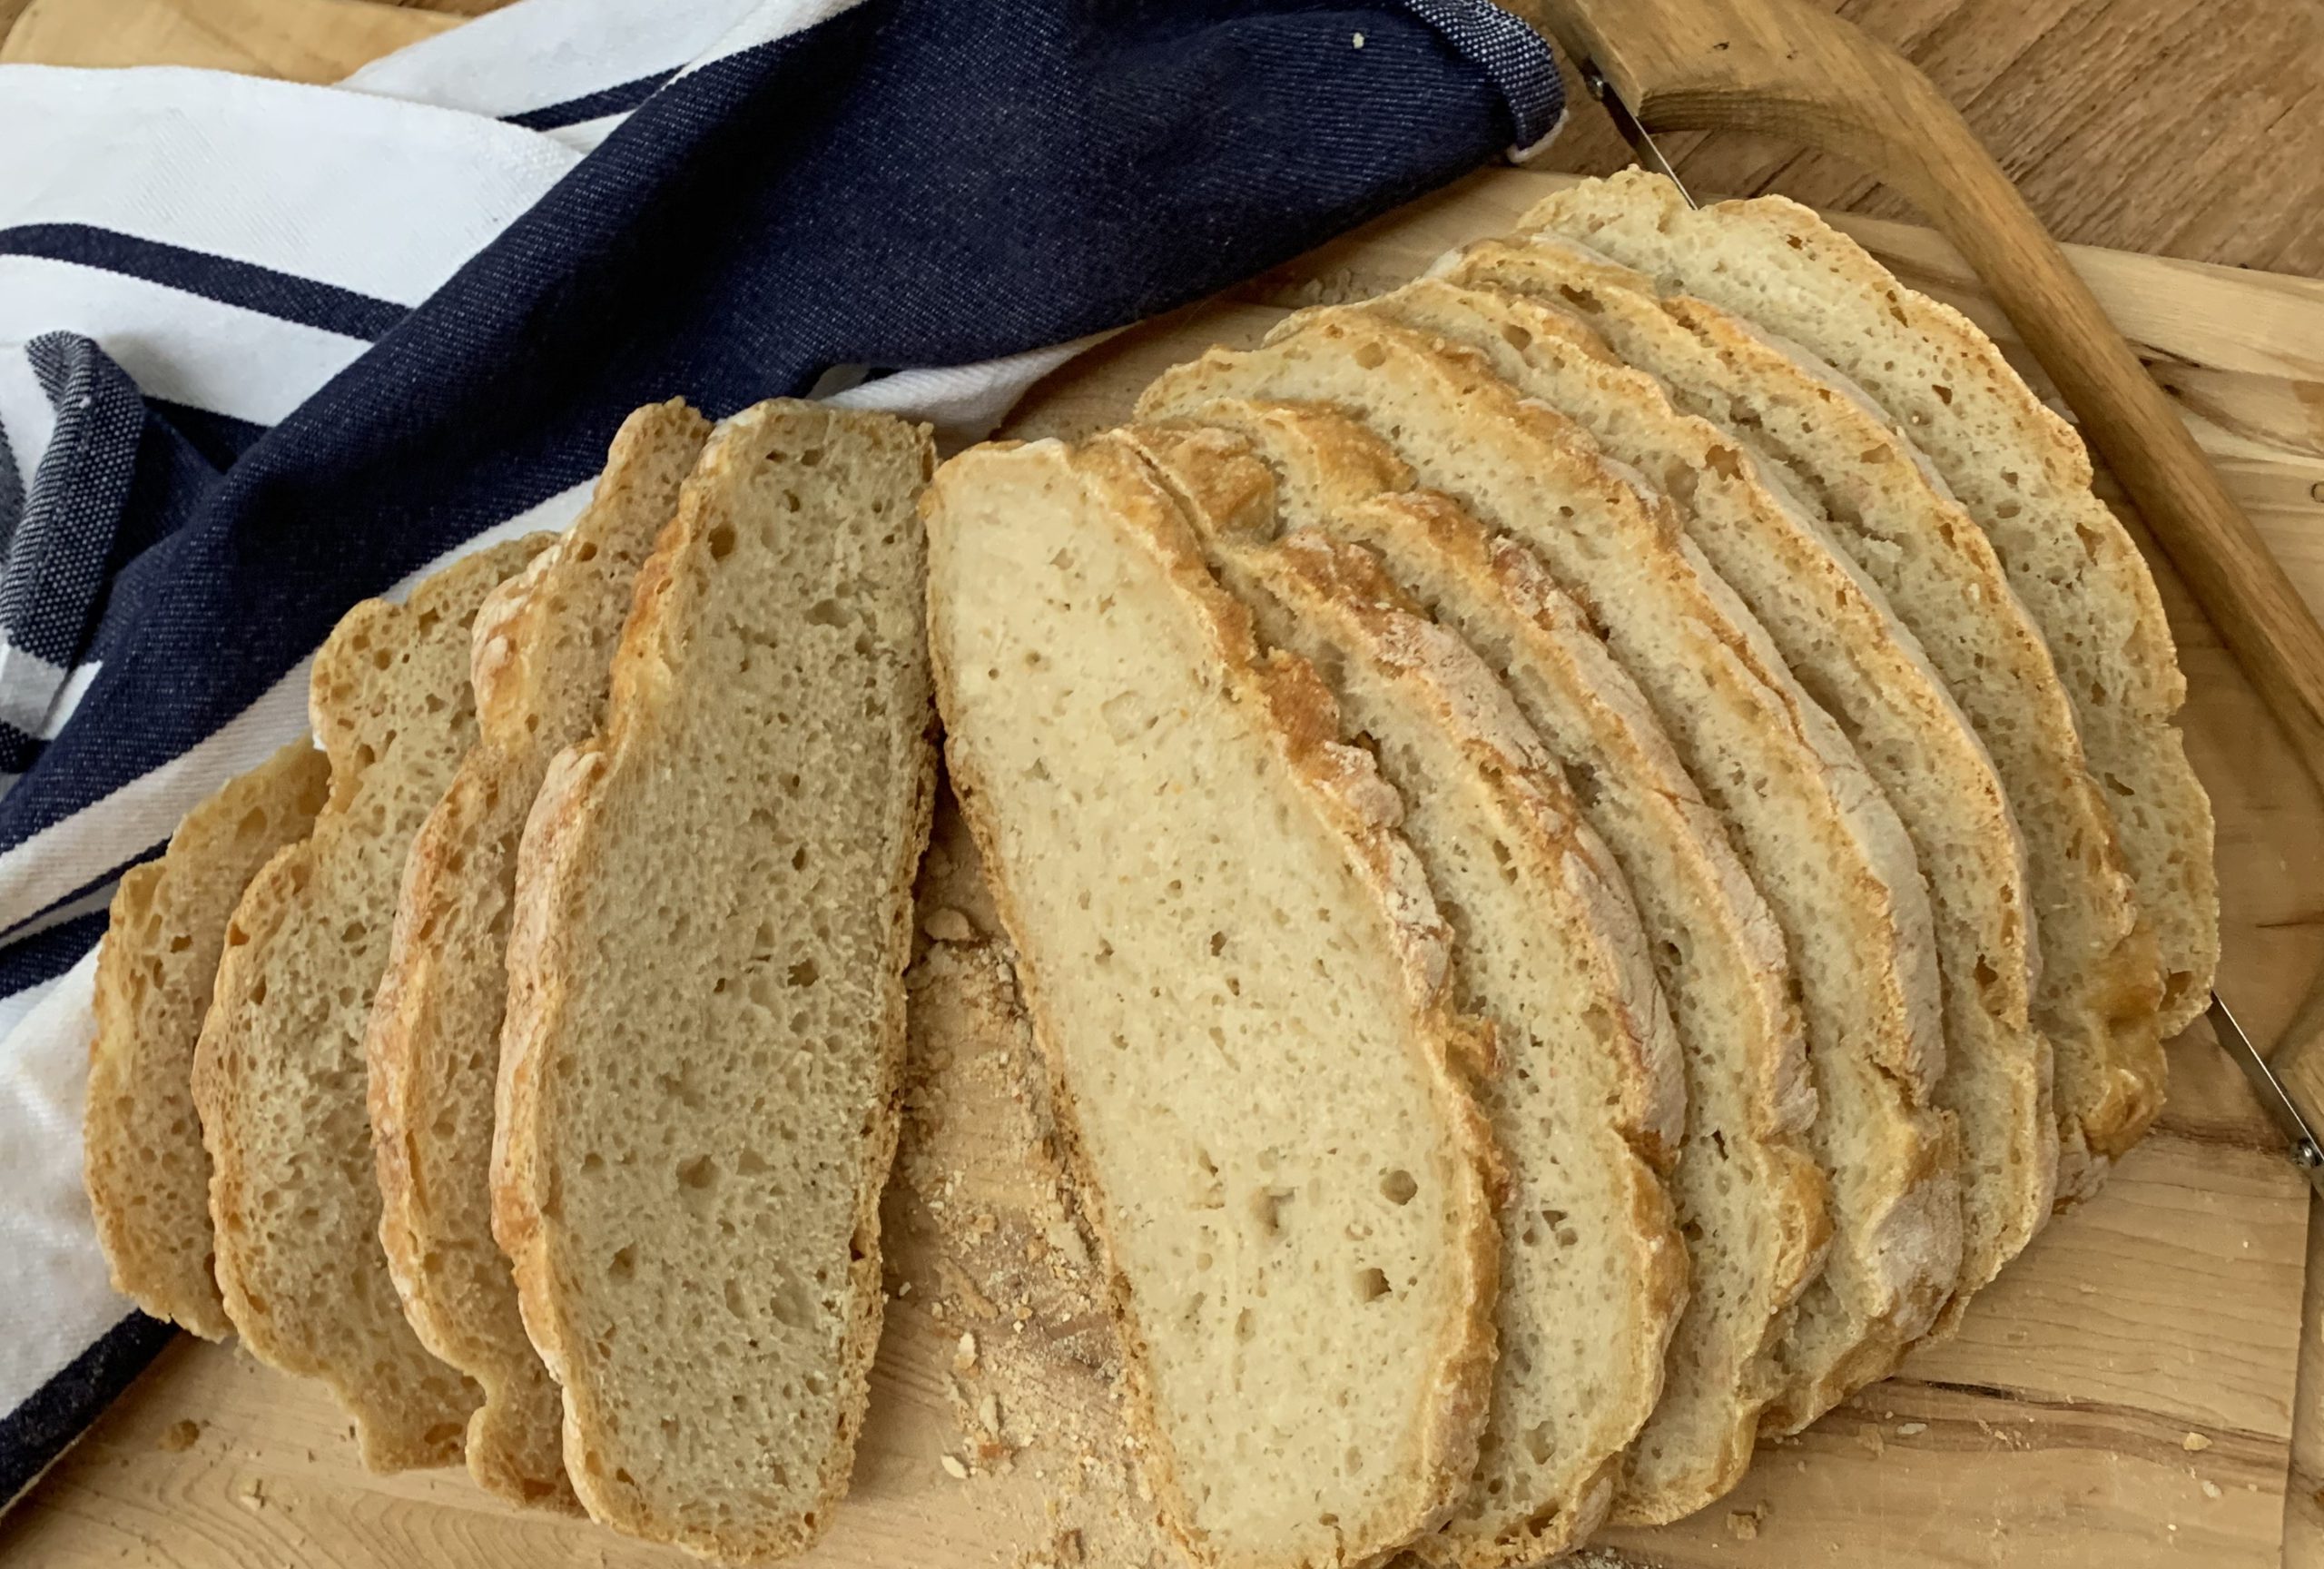
Slice, butter (or not!) and get ready for the huge satisfaction you are about to experience. Enjoy!


I love this way to nurture ourselves at home!
Yes, Ellen, it’s one of my favorite ways to be good to myself: do something fun and reward myself with something yummy!