


If you have a child, they come with paper – and LOTS of it!
These keepsake papers provide such a beautiful window into their world: their karate certificate of achievement, school play program, first handmade Mother’s Day card, and school essay about their beloved pet.

Those are memories that you really want to treasure and safeguard, but, as the paper piles up, you don’t know what to do with it. If you’re like me, you have all your child’s artwork and special papers stuffed into bags or drawers, or sitting in a large to-do pile that you keep putting off. If that’s not enough, on the last day of school, my child’s teacher would hand me another large stack. It can get pretty overwhelming.
Yet, there’s a solution – a memory box!
A memory box is the perfect way to corral papers and memorabilia, saving the most important ones that you want to hold onto and, someday, pass onto your child. Once you create this simple system, you can easily chronicle and celebrate every step of your child’s growth and achievements.
In a few short steps, I’ll share with you the method that I started with my son, and hopefully this can work for you. Once you’re finished, you’ll have a special keepsake of your child’s memories and milestones that you can return to again and again and will be easy to add to.
So, let’s dig into that pile!
5 Simple Steps to create your kid’s memory box
Step 1: Sort and Organize by Year
Start sorting the papers by school grade year. It can be helpful to label and place a sign or sticky note with each pile, especially if your child has been through many school years and there are several piles.
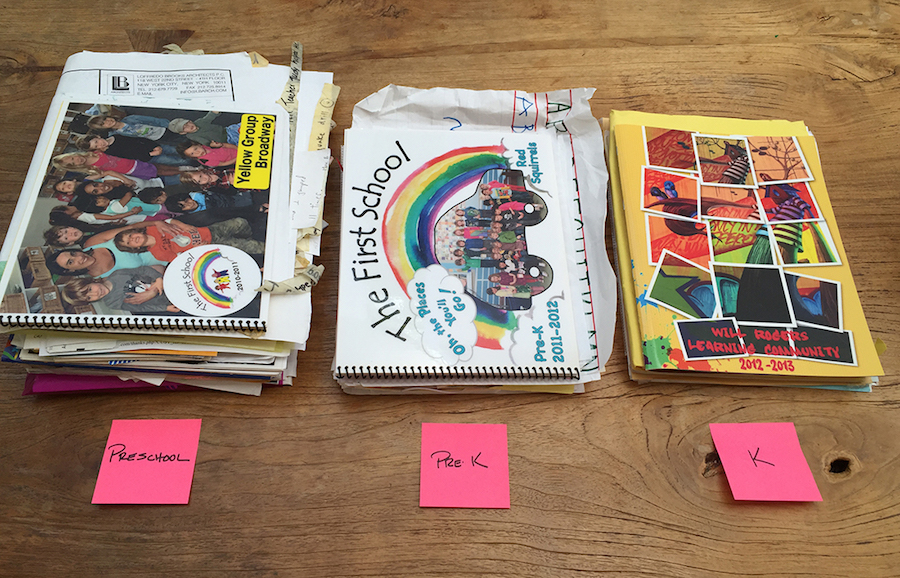
Be sure to include ages 1-2 (or preschool), pre-K and kindergarten if you have items from those years. Those early years always seem to have more because you save more, and the teachers provide many wonderful creative in-class projects.
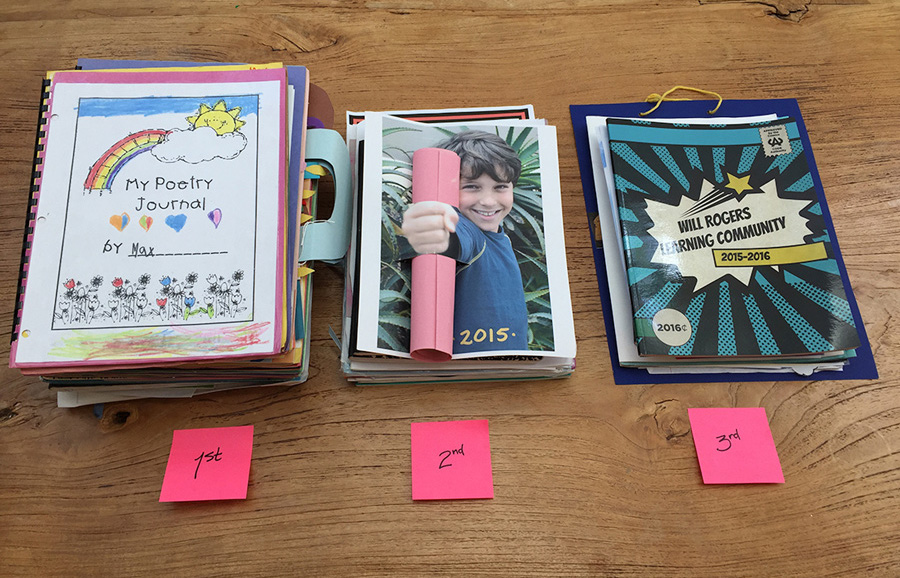
You’ll notice the piles begin to thin as your child gets farther along in grade school and the artwork is gradually replaced with digital class assignments, which we’ll cover a little later on.
Step 2: Edit as Needed
Review each pile to be sure you’re only keeping the most important memories. Literally hundreds of artwork projects can pile up in one or two years. Saving everything makes the collection too overwhelming to enjoy, so it helps to determine which ones are most special to hold onto.
Sometimes it can be hard to let these memories go, especially if they were recently brought home to you by your child. Reviewing and “pruning” the folders may be an activity that you revisit every few years, when you have a clearer sense of favorite memories that you want to keep.
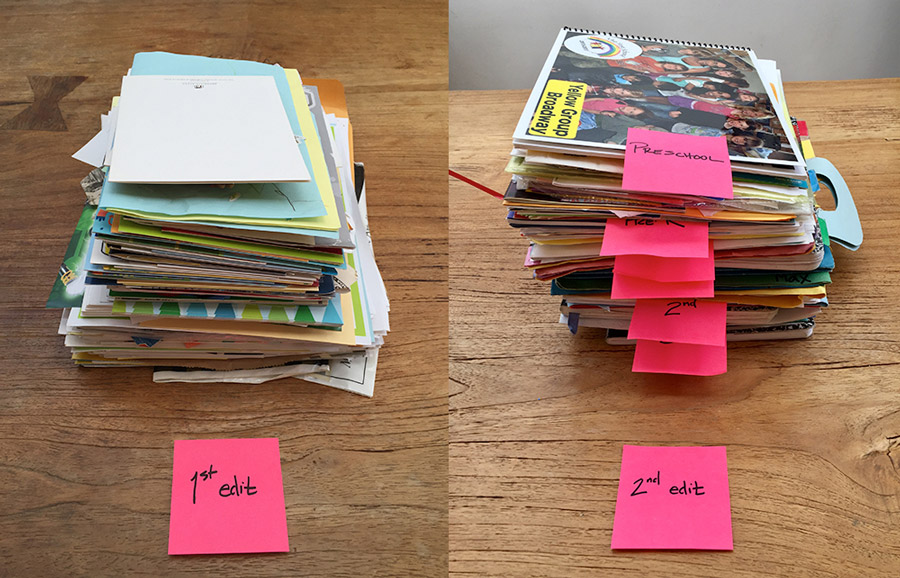
After a few rounds of edits, you’re then left with the items that you really want to save.
Step 3: Create a folder for each grade, and Select a box
 Have fun with it! You might add colorful file folders and tabs, or, if age appropriate, enlist your child’s help to decorate the folders or the outside of the box. Also, create a fun cover sheet for each folder with a school photo of your child from each year.
Choosing the box
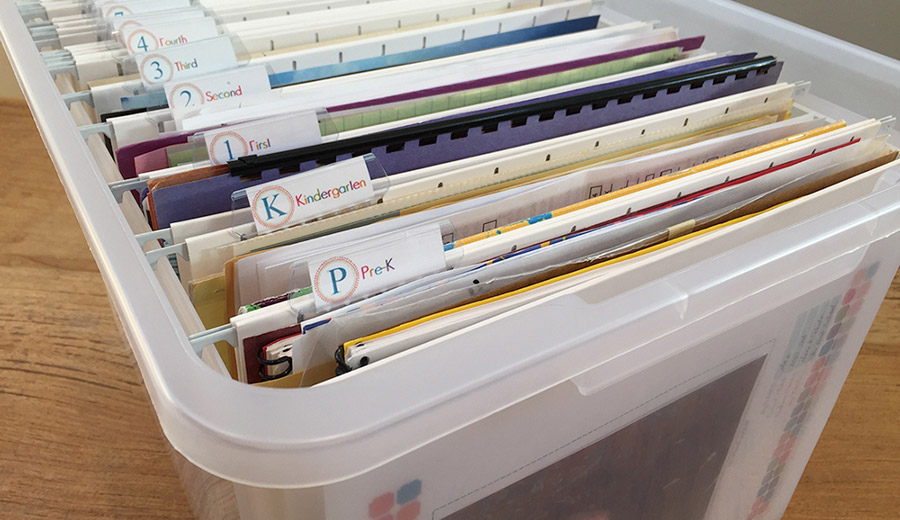
Ensure your box is large enough to hold their memorabilia for their entire school years. Typically, some form of filing box is ideal to neatly prop up the folders. A colorful, transparent or semi-transparent box makes keepsakes visible and distinguishes it from the mundane file boxes for taxes, bills and other less desirable “keepsakes.”
If you have multiple children, see how easy it is to create a colorful, organized system of boxes, where each box is dedicated to a different child. This example is provided by one of my favorite organizing bloggers, A Bowl Full of Lemons, whose blog offers neat ideas and resources for labelers and placing names on the front of the boxes.
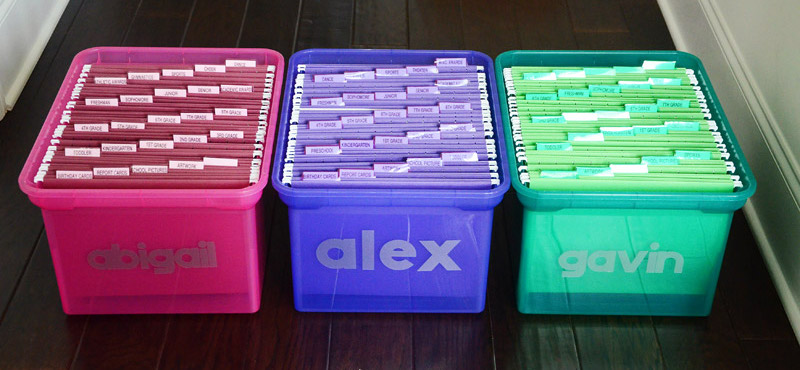
form more, visit abowlfulloflemons.net
Step 4: Organize and File
Watch your memory box come to life! Drop the memorabilia into their respective folders. Add in those report cards, awards, concert programs, certificates of achievement, artwork, poems and essays, and class projects as they come in.
Here is the completed memory box I created for my son from the outside and inside, with neatly labeled with papers filed away.
Step 5: Maintain an Ongoing System
Keep a folder or box handy that you can slip the memorabilia into as a temporary holding place. Then, periodically, take a few minutes to review the items, edit out less noteworthy papers, and then place the final keepsakes into the memory box.
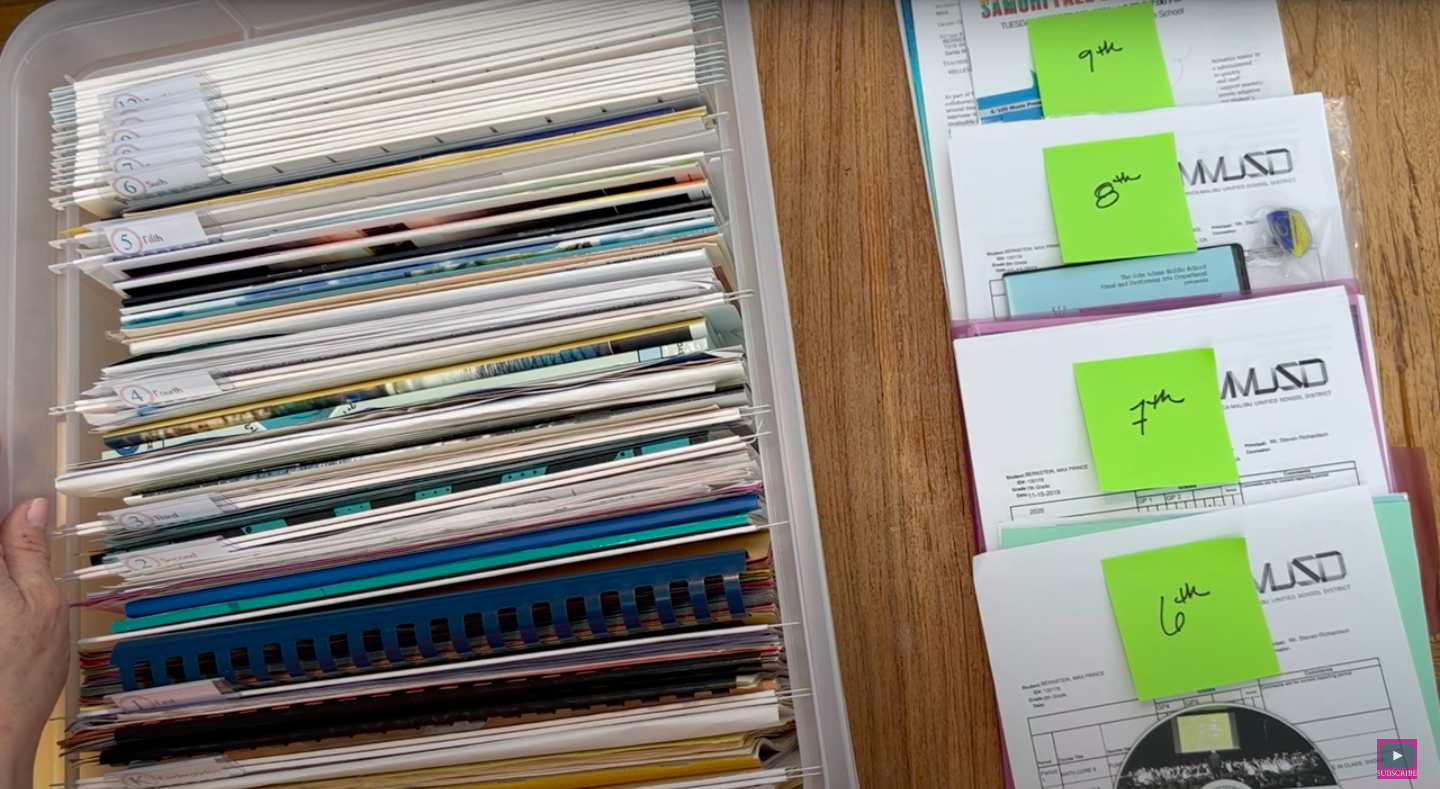
From time to time, you will come across older papers and need to quickly set them aside in that temporary holding place. It can be helpful to pre-sort and label all keepsake papers by grade year with sticky notes to make it easier to file them later into the memory box.
Bonus Step: Keeping Digital Mementos
As your child gets older, the folders get thinner. They aren’t bringing home all that artwork like they do in preschool thru second grade. Their report cards, school papers and assignments transition to digital form, and the physical memorabilia tends to be more photos, concert and activity programs, and special projects.
In time, it will help to set up a similar system of online folders for their digital keepsakes. A digital file system is also useful if you’re limited in space or find yourself wanting to hold onto more memories. Whenever you’re editing down the pile and on the fence about an item, simply take a photo of it for the digital records before you let it go.
Wonderful Repurposing
Once you put a system in place, you will have many terrific memories at your fingertips to repackage into great gifts and mementos to share with family and friends.
Here are some ideas for how you can share your children’s memorabilia:
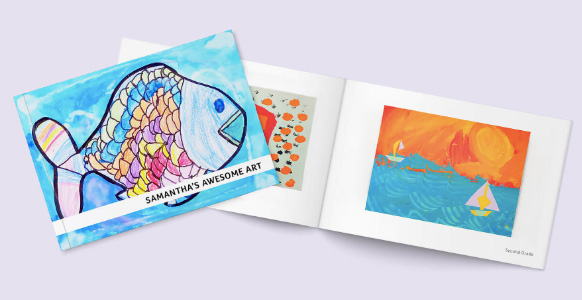
- Photo books: Create a photo book as a way of preserving memorabilia for yourself, and sharing them with friends and relatives. Photo books make great gifts for relatives, like grandma, who enjoy relishing in your children’s growth and achievements.One of my favorite sources for creating photo and art books is Artkive, which I describe more in detail in my Organize Your Child’s Artwork blog. Use it creatively to digitize and present a combination of art, poems, milestone events, and certificates of achievement.
- Stationery: When you’re ready to let a keepsake go, consider using the back of it as stationery for a letter to grandma or a good friend. It’s a novel way to share the joy of your child’s creation or achievement. Another way to create stationery is by taking a picture of a keepsake and printing it on a note or postcard. VistaPrints.com makes it easy to turn a photo of a keepsake into a postcard. It can be a great way to celebrate and tell family and friends about your child’s recent school play or award-winning spelling bee. PrintArtKids.com can also help you transform your child’s keepsake into a variety of cards, notebooks and notepads… even a puzzle!
- Gift wrap: Larger pieces of art and memorabilia can make interesting and unique gift wrap for family and relatives.
- Calendar: Create a decorative wall calendar that can commemorate the previous year’s milestones in a monthly calendar that you gift to family.
Final thoughts on sharing the box with your child
Putting together the memory box can give you some private time to reflect on precious moments and milestones. After you’ve had that lovely trip down memory lane and set up the box, consider whether you’d like to involve your child in decorating or reviewing the box. Going through the memories together can be a wonderful exercise, and it reminds your child of how much you treasure them and their efforts.
Sharing the box is up to you. I chose to wait, and I look forward to passing it onto my son when he’s older. Whenever that time comes, you’ll both enjoy the reminiscing.
Until then, keep gathering those memories. You might have to do more editing along the way, but you’ll have the peace of mind knowing that you’ve saved the most important treasures that you will love and your child will cherish for years to come.
Helpful Videos
Visit my YouTube Channel for helpful tips, including:
See how I put together my son’s memory box >>
Tips for Organizing Your Child’s Artwork >>
Once you get started, you’ll see how easy it is to wrangle your child’s brilliance so that you can celebrate and share it!


Comments +